Nano Banana Pro: What It Is and How to Edit with It
Nano Banana Pro is the Gemini 3 Pro Image model from Google: what it does well, how to prompt photo edits it obeys, SynthID, and a no-setup path.

Every few months an image model gets a nickname that outlives its technical name. Nano Banana Pro is the current one: Google's image model built on Gemini 3 Pro, released in November 2025 as the follow-up to the original Nano Banana. People mostly call it Pro for short, and this guide does the same after this paragraph. The nickname went viral; the capabilities underneath it are why people kept searching for it. This guide explains what the model actually does, how to prompt photo edits it will obey, what the SynthID watermark means for your images, and what to do when you want the same class of edits without opening a Gemini plan or an API key.
What Nano Banana Pro actually is
Nano Banana Pro is the consumer name for Gemini 3 Pro Image, Google DeepMind's image generation and editing model. The original Nano Banana arrived as a fast, cheap editing model and became the internet's favorite for quick photo tricks. Pro keeps that behavior and moves the ceiling: it is built on Google's Gemini 3 Pro language model, which is why Google describes its results as reasoning-driven rather than pure pattern matching.
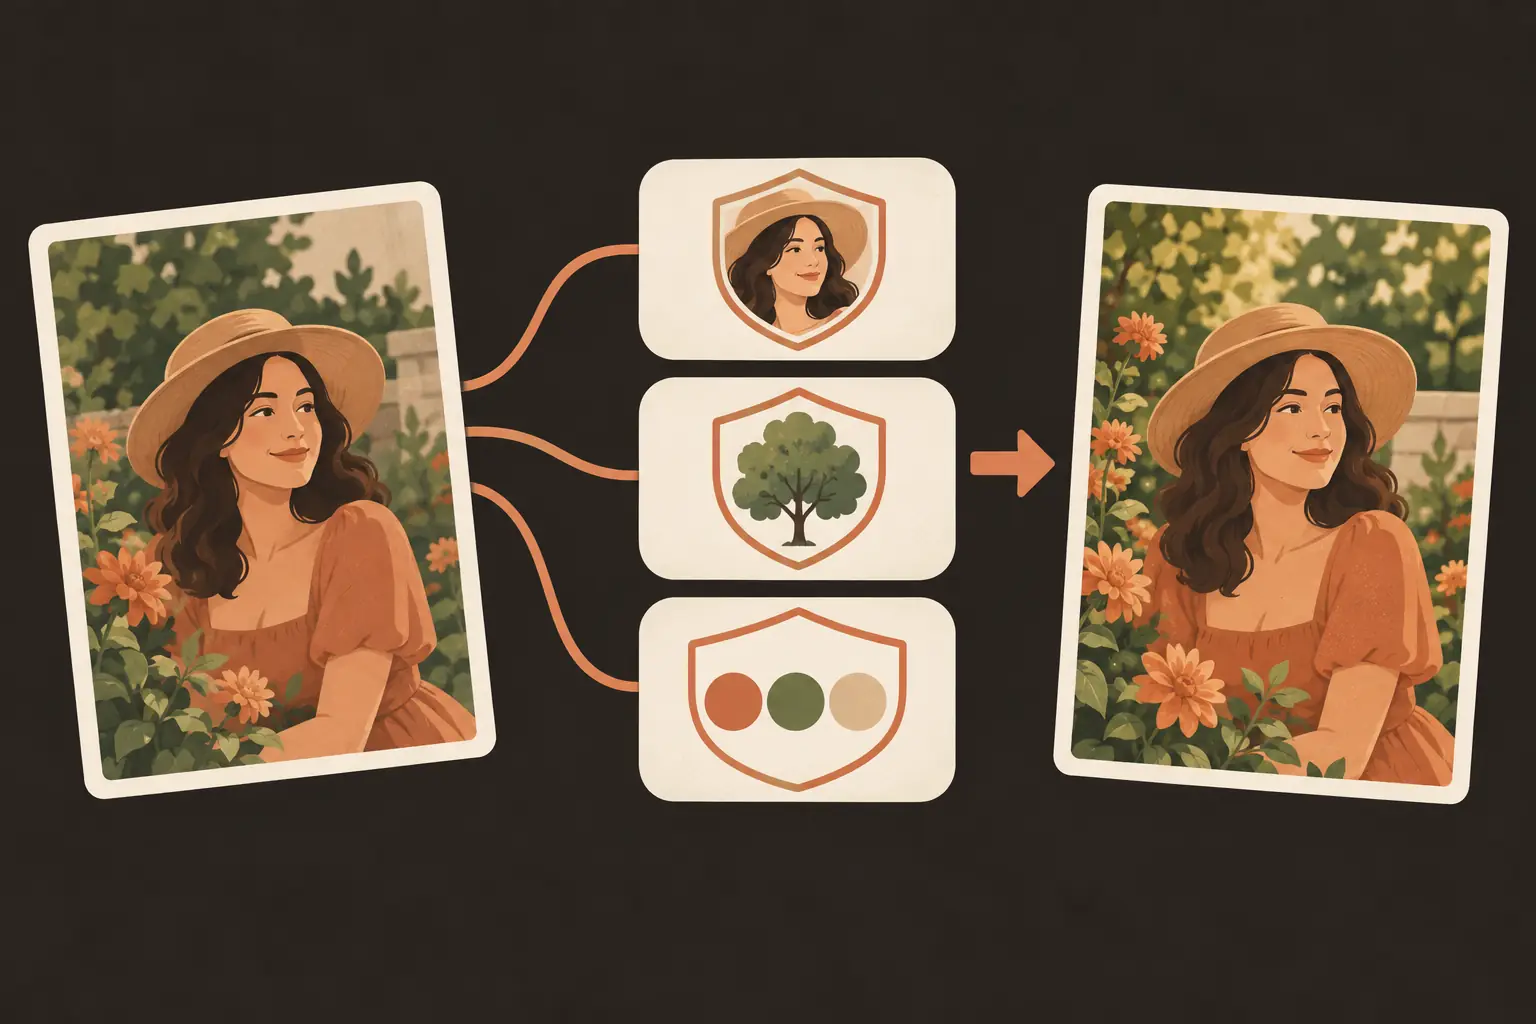
Three documented strengths matter for photo editing. First, text rendering: it can draw legible, correctly spelled words inside images, which most models still fumble. Second, targeted edits: the model segments the scene semantically, so an instruction like "replace the background" lands on the background without you brushing a mask. Third, reference-based editing: you attach photos and give natural-language instructions, and the model composes or modifies with those references in mind. Every output also carries an invisible SynthID mark, which the watermark section below explains. It also outputs at higher resolutions than the original, which matters once a result leaves the screen.
What it does better than the original Nano Banana
The original Nano Banana earned its audience on speed and price: quick tricks, consistent characters, low friction. Pro is slower and more expensive per image, and it earns that in four ways that show up in real edits rather than in benchmark tables.
Complex instructions survive. Multi-part edits ("move the cup, keep the steam, make it morning light") that the original simplified into one change tend to arrive whole. Text inside images went from garbled to genuinely usable, which turns the model into a tool for annotated photos, mockups, and simple infographics, not just art. Fidelity rose across the board: finer detail, more faithful materials, and higher-resolution output for print-adjacent uses. And the scene understanding runs deeper; because the model reasons about what objects are, its segmentations track real boundaries, so a targeted edit disturbs less of the surrounding photo.
A concrete edit shows the gap. Give both models a street photo and ask for the storefront sign to read a different name. The original may return the right idea with letters that almost spell it. Pro is built to return the sign with legible, correctly spelled text that follows the perspective of the wall, because text rendering is one of its documented strengths, and scene reasoning is what keeps the perspective honest. Neither result may be perfect on a hard frame; the gap is how often you get a usable first pass.
The honest trade-off is latency and cost. The original remains the right choice for throwaway drafts; Pro earns its keep when the result has to be right.
How to use Nano Banana Pro for photo edits
The mechanics are simple: open the Gemini app and pick the model (Pro runs with Thinking mode), or reach it through the Gemini API, Vertex AI, or Google AI Studio as a developer. The discipline that separates a lucky result from a repeatable one is the same across every serious image model, and it has three parts.
Name the edit in one sentence, with the target and the outcome: "replace the gray background with a warm studio backdrop", not "make it better". Attach a keep-list: the model's segmentation is good, but your instruction is what tells it what good means. "Keep her face, hairstyle, and the dog exactly as they are" prevents a correct background swap from drifting into a new person. And judge the result at full zoom before you keep it: generative edits rebuild the pixels in the edited region, so hems, hands, and text deserve a close look. When a pass misses, sharpen the sentence rather than rerolling blind; specificity is the retry lever.
Google publishes an official prompting guide with frameworks for exactly this, and it is worth reading once. The pattern it teaches is the one above: task, context, constraints.
Where it fits for everyday photo fixes
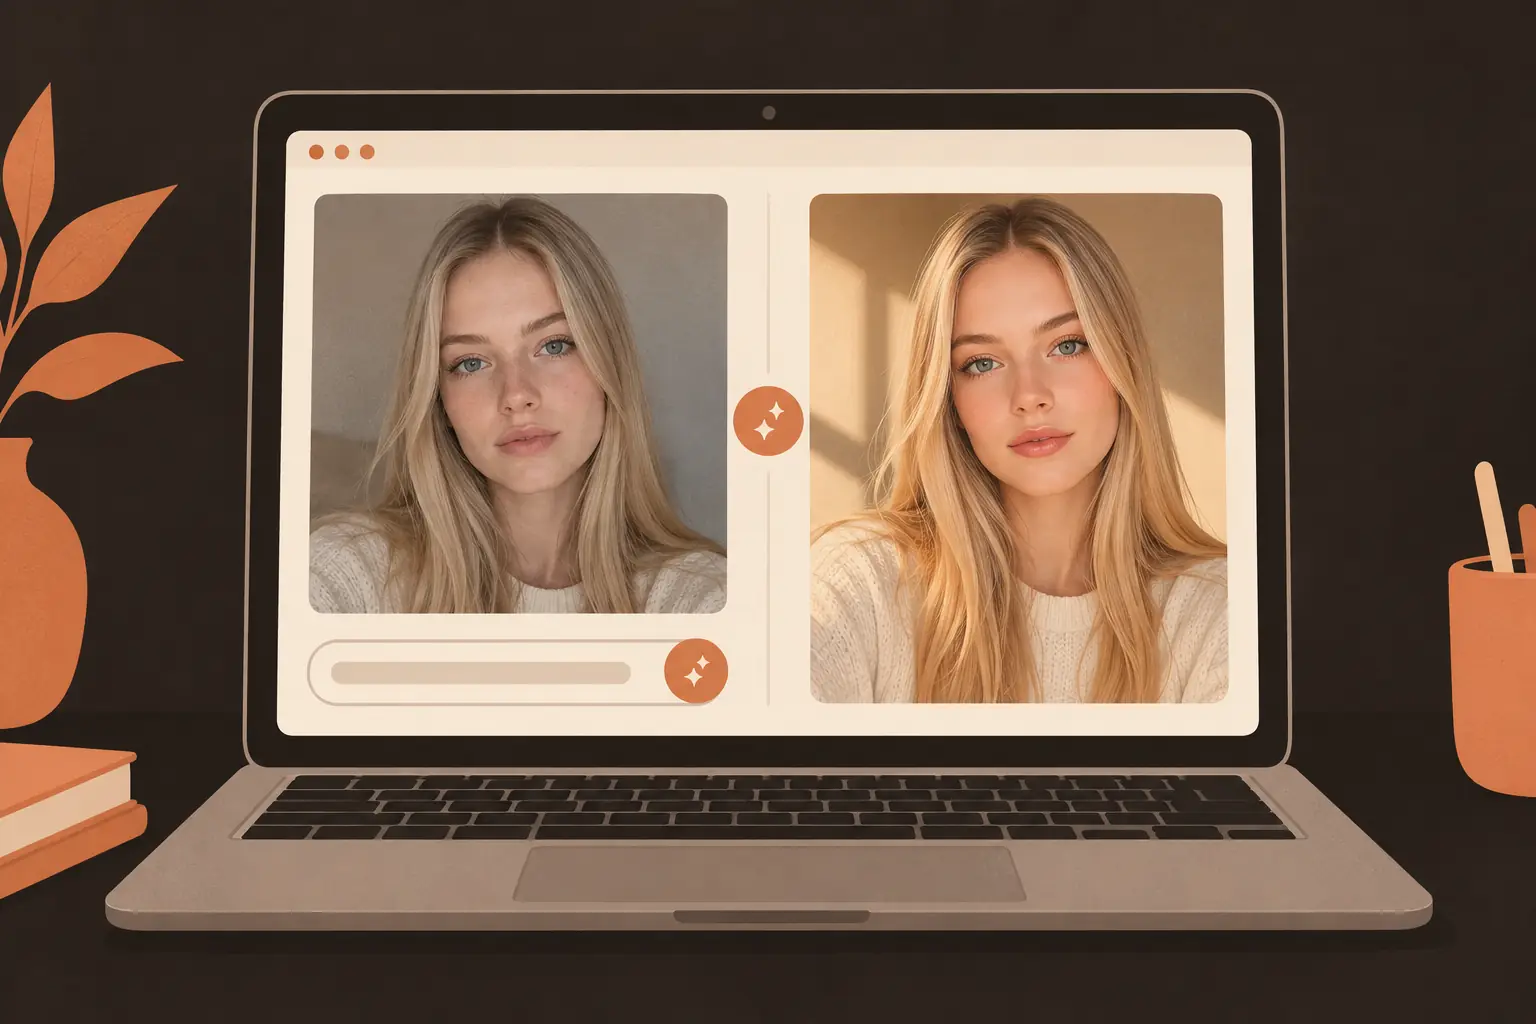
Model capability is not the same as model fit. Pro is at its best when the edit needs understanding: swap a product's background for a lifestyle scene, relight a room, produce a version of your sign with the spelling corrected, compose several reference photos into one image.
For the common tonal rescues, a dedicated fix is often faster: an underexposed room wants an exposure correction, not a re-render, and the same is true for casts, haze, and faded scans. And when the job is removing something rather than changing something, a targeted remover with a keep-list beats a general model on control, because the tool's whole interface is "this object goes, everything else stays". Editing text inside a photo sits in between: models with strong text rendering can rewrite short signs, while a dedicated image text editor handles the delete-and-retype jobs directly.
The practical rule: use the big model when the edit needs comprehension of the scene; use the focused tool when the edit needs restraint.
One more fit note: generation is not editing. Asking any model to invent a scene from scratch exercises different muscles from correcting a photo you already have, and the second job is where keep-lists earn their name. If your photo is precious, run the edit twice with slightly different wording and keep the version where nothing that should have stayed put moved.
The SynthID watermark, explained
Every image the model generates carries SynthID, Google's invisible watermark. It is embedded in the pixels themselves, imperceptible in normal viewing, and detectable by Google's verification tooling; the point is that AI-generated images remain identifiable as such even after cropping or re-encoding.
For most users this changes nothing about how the image looks or posts. Two things are worth knowing. The watermark identifies the image as AI-generated; it is not a rights statement and not a license. And removing or obscuring it is not a feature anyone should promise: treat it as part of the image's provenance, the same way a camera's EXIF data marks where a photo came from.

Using the same class of edits without a Gemini plan
The model lives inside Google's ecosystem: the Gemini app with a plan tier for volume, or the API and Vertex AI for developers who want to build with it. If you only occasionally need this kind of edit, that ecosystem is a lot of machinery for a handful of pictures.
The lighter path is a browser editor that runs the same class of generative edits with the same prompting discipline. Upload the photo, name the edit, attach a keep-list, and judge the result: no account walls before you can try it, no API keys, nothing to install. That is exactly how this site's editor works, and the AI clothes changer is a good example of the pattern: a pre-built, well-prompted edit with reference images, running on ordinary photos in the browser. When you need plain quality recovery instead of an edit, the photo enhancer handles sharpening and detail work the same way.
A note on honesty here: we are not claiming to run Google's model. Editors like ours are powered by their own image models, and the point is narrower and more useful: the prompting discipline you learned above transfers whole, because good models reward the same clarity.
How it compares with the GPT Image models
OpenAI's image models sit in the same space, and our earlier guide to GPT Image 2.5 covers that family in depth. At a behavior level: both generations handle reference-based editing and natural-language instructions well; Google's Pro leans into scene understanding and text rendering, and OpenAI's models have a reputation for prompt adherence and clean composition. Neither publishes enough detail for a fair spec fight, and benchmarks move faster than articles can track.
The useful comparison is not which model wins but which interface fits your job: a plan-bound assistant for exploration, an API for products, or a focused browser editor for the thirty-second fix. All three are legitimate; only one of them fits in a lunch break.
FAQ
How do I use Nano Banana Pro?
Open the Gemini app, switch to a model tier that includes Pro, and enter your instruction; developers reach the same model through the Gemini API, Vertex AI, or Google AI Studio. For a photo edit, attach your image, write the edit as one sentence, add a keep-list for what must not change, and judge the result at full zoom before using it.
Where can I find good Nano Banana Pro prompts?
Google's own prompting guide is the canonical starting point, and most community prompt collections reuse the same skeleton: task, context, constraints. The keep-list habit matters more than any magic phrase; a sentence that names the edit and protects the subject will beat a copied prompt that does not fit your photo.
Is Nano Banana Pro free?
The Gemini app has a free tier with limits, and Pro-tier usage typically sits behind Google's paid plans; developers pay per image through the API. We will not quote numbers that move faster than this article. The free browser path on this site covers occasional edits without any plan.
Will people know my image was made with AI?
Nano Banana Pro embeds SynthID, an invisible watermark detectable by Google's tooling, so yes, the output remains identifiable as AI-generated even after edits or screenshots. That is a feature of Google's model; image editors on this site handle your photos and do not add watermarks to downloads.
Can it edit text inside a photo?
Text rendering is one of its documented strengths, which covers generating images that contain readable text and short in-image edits. For reliable delete-and-retype work on existing photos (a sign, a label, a screenshot caption), a dedicated image text editor gives more control over exactly which characters change and which stay.
Is Nano Banana Pro the best model for my photo?
It is the strongest choice when the edit needs scene understanding, legible text, or multi-reference composition, and you are already inside Google's ecosystem. For tonal rescues, background swaps on your own photos, or one-object removals, a focused tool with a keep-list is faster and easier to steer. Try both patterns on the same photo once; the difference in control is the lesson no benchmark teaches.
ImagEditorAI Team
Written by the ImagEditorAI Editorial Team. We research and test image editing workflows, outfit coordination, and generative AI models.
Test your outfit combination on yourself
Generate coordinated outfits or swap clothing pieces on your own photo with AI before wearing or buying.
Related Guides & Articles
Clothing Product Photography: A No-Studio Guide
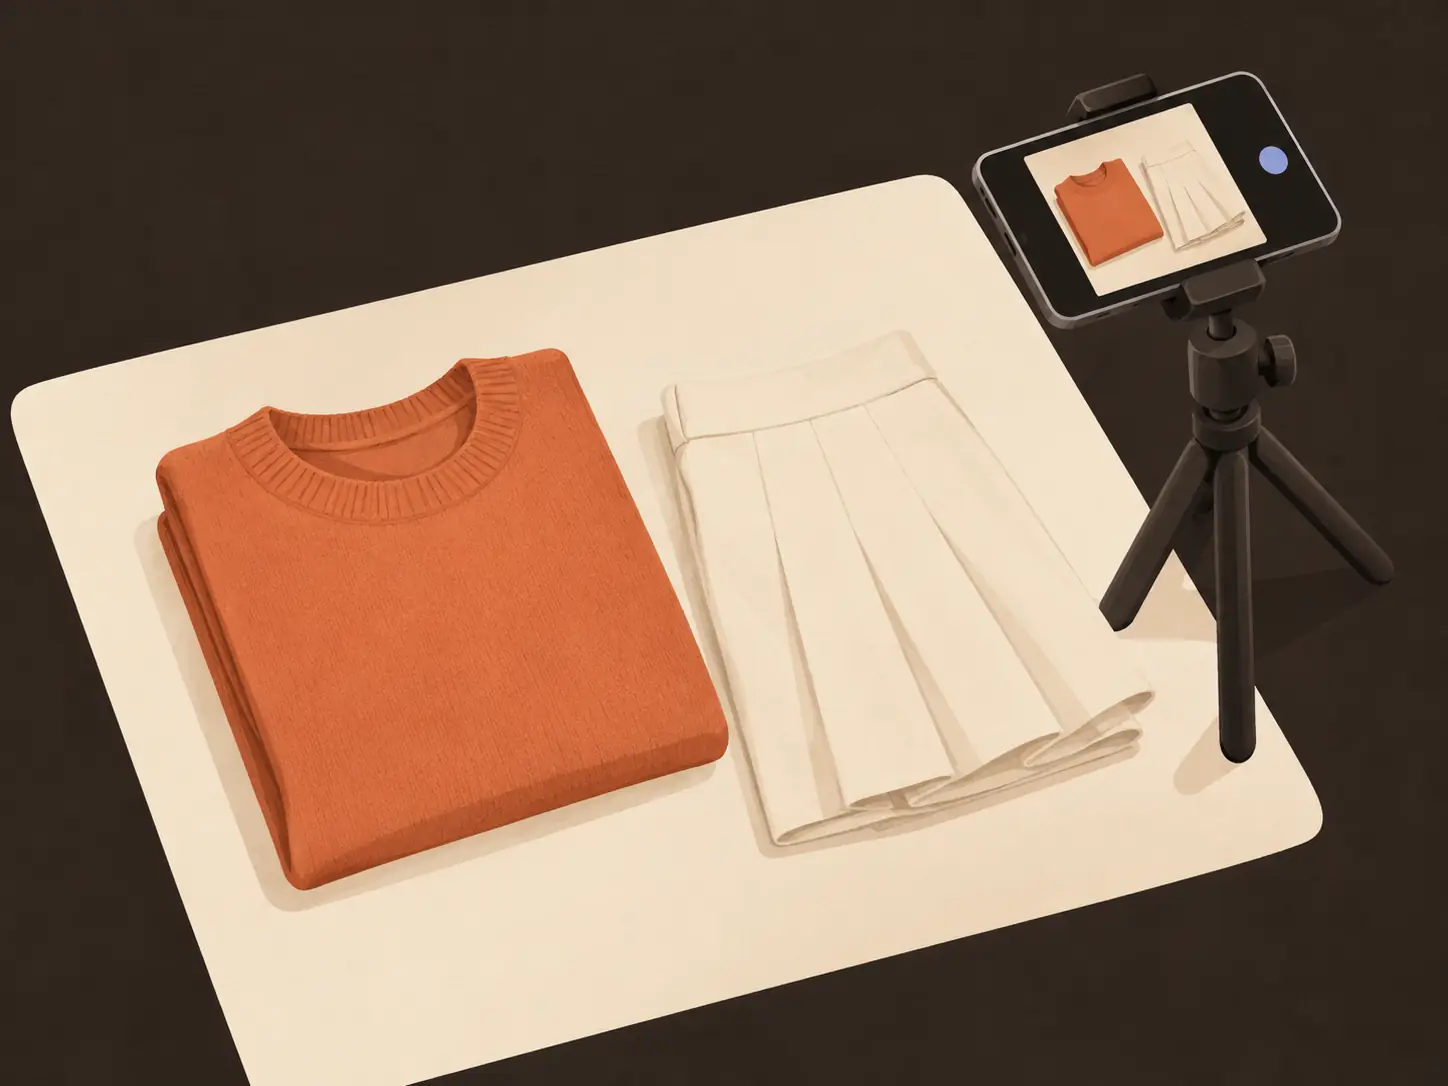
Clothing product photography without a studio: the four shots every garment needs, a window-light phone setup, background calls, and fixes instead of reshoots.
Virtual Try On Apps: What They Do and When to Skip Them
Virtual try on apps come in three kinds: retailer AR, closet planners, and photo-based AI. Here is what each does, and when a browser tab does the job.
Does This Outfit Match? How to Tell Before You Leave
Asking does this outfit match is a judgment you can run in a minute: the 60-30-10 color split, neutrals as glue, formality first, and a photo check.