

Remove Glare from Glasses
Clear flash glare and lens reflections in one prompt; the eyes behind get rebuilt.
Portrait-grade output and surgical cleanup for photos that have to look right at full size.
Turn a plain selfie into a studio headshot for profiles and press pages, strip a messy background without eating hair edges, remove a photobomber or a stray cable, and erase hard shadows from product-adjacent shots. The same editor powers each tool, tuned for professional output.
Newest launches first. Open a card to run the tool on your own photo — the before/after previews show its published preset.
Clear flash glare and lens reflections in one prompt; the eyes behind get rebuilt.
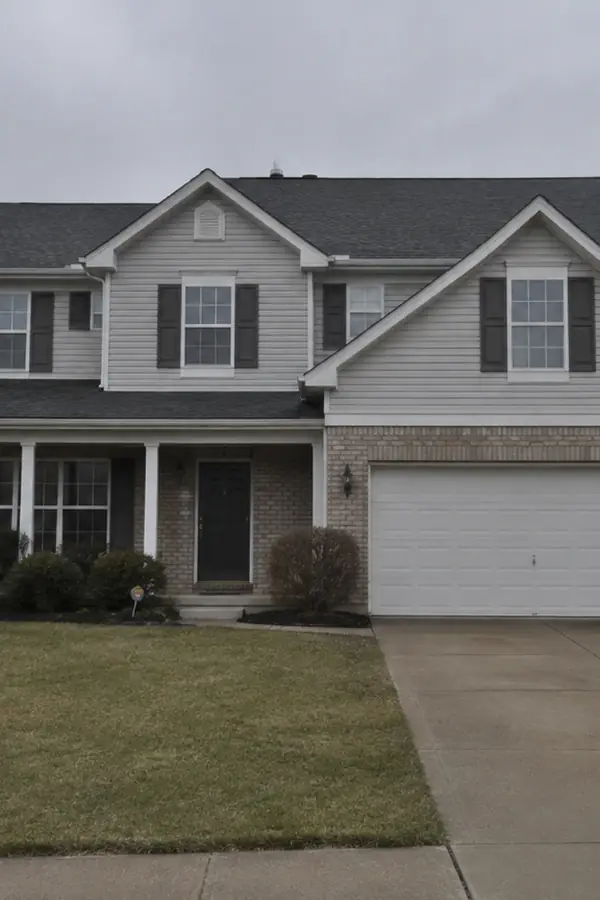

Edit listing photos by prompt: fix skies, light, or stage empty rooms; the house stays.


Clear face, object, and window shadows in one prompt; the lit areas stay original.
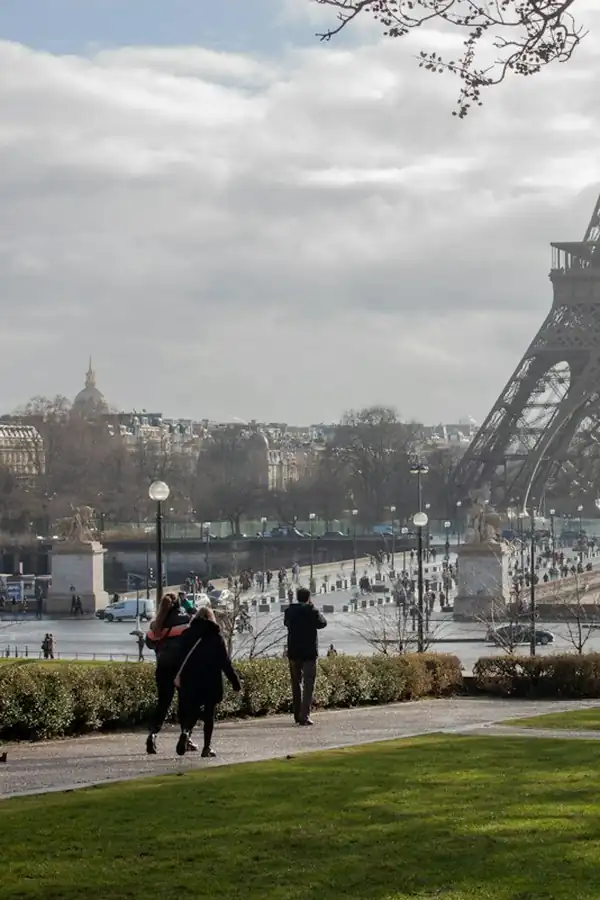
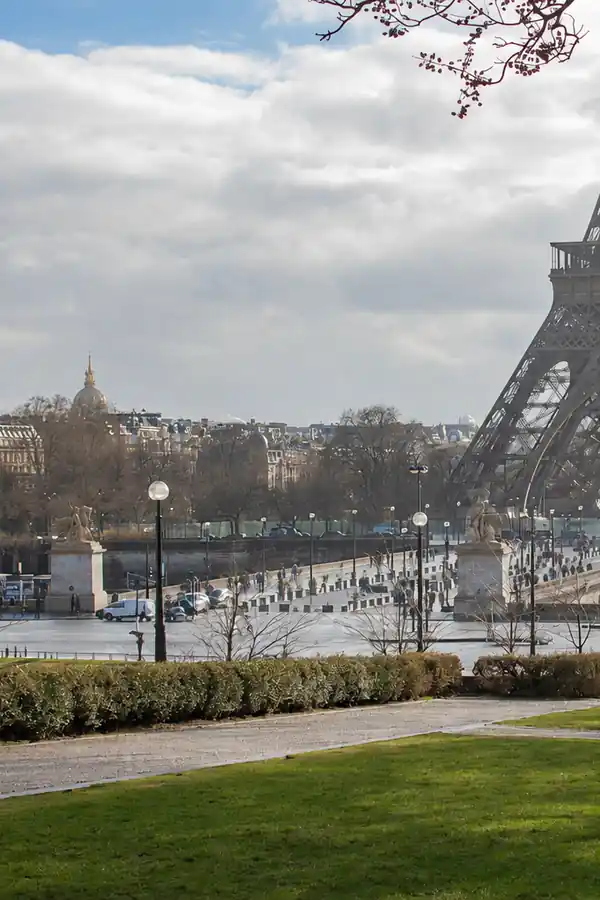
Delete people, clutter, and text; the background behind is rebuilt naturally.

Fix blur, dim light, and faded color from a prompt; faces and composition stay.
Put your subject on white, a color, or a new scene; hair and fine edges stay.


Turn a selfie into a studio headshot; outfit and backdrop change, your face stays.
Every tool on this site runs on the same editor. Pick the one that matches the job — the workflow never changes.
Start from the sharpest original you have — a phone photo is enough. One image per pass keeps the edit predictable.
Name what should change in plain words: the outfit, the backdrop, the object to erase. No masks, layers, or sliders.
Compare the result with the original at full size, rerun with sharper wording if a pass misses, and download the keeper. Downloads carry no watermark.
Common questions about the professional-photo tools.
The same editor, preconfigured for other jobs. Switch category or browse the full catalog.
Each tool is the same ImagEditorAI editor preconfigured for one job, so you can move between them without relearning anything.
Everyday photo edits — change outfits, try hairstyles, lift filters, restore old prints, and add text.
E-commerce imaging — product shots, ghost mannequin, white backgrounds, colorways, and fashion models.
Upload, name what should change, and inspect the result at full size before paying a credit.