AI Product Photography
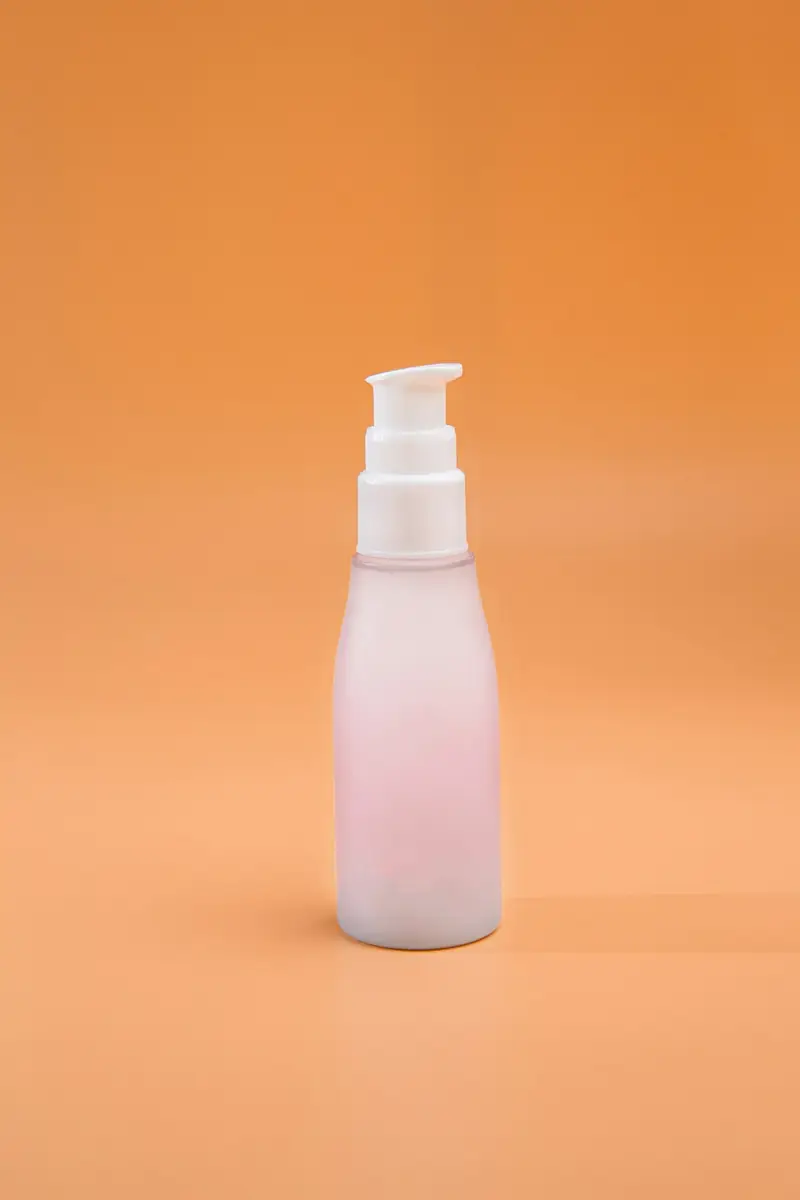
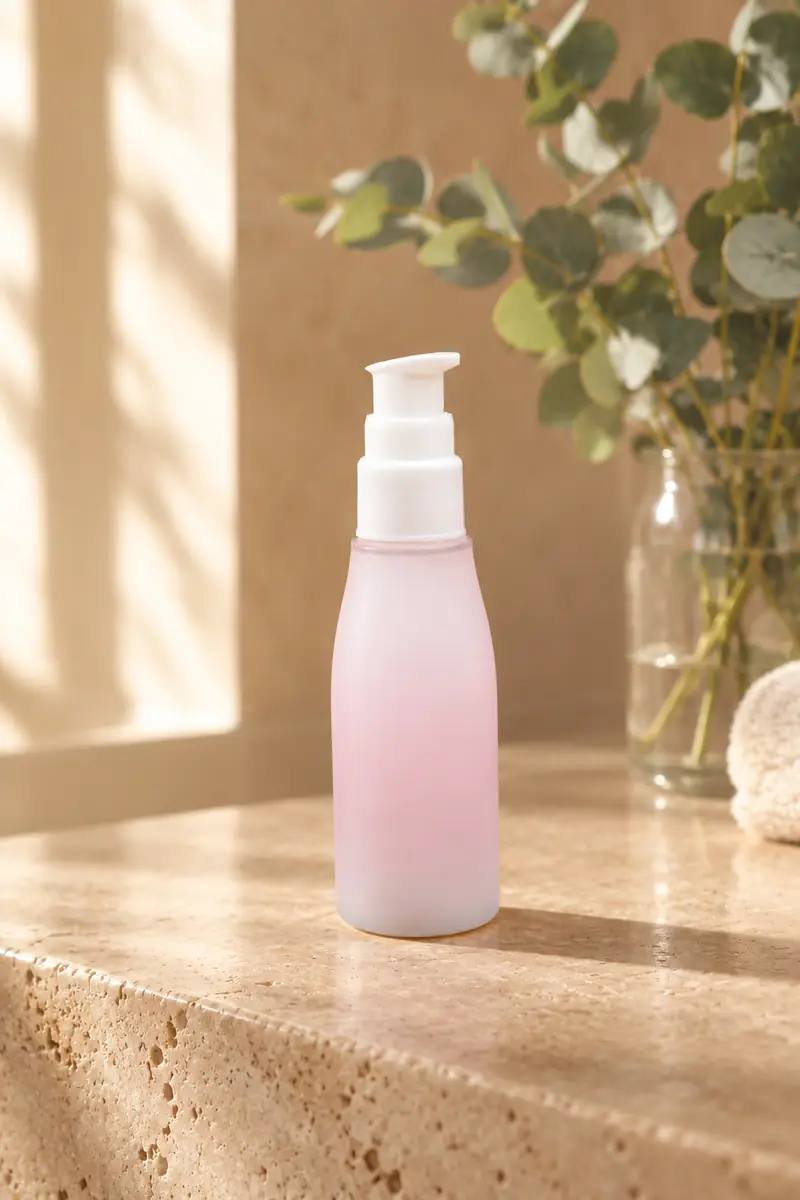
Turn one packshot into a studio or lifestyle scene; label, shape, and colors stay.
Listings-ready images without a studio day — from a single packshot or an empty garment.
Place your product in a styled scene, get the hollow ghost-mannequin look from a flat garment shot, meet marketplace white-background rules, spin up colorways of one shot, and put your clothes on a generated fashion model. All presets share one editor, so workflows chain in a single session.
Newest launches first. Open a card to run the tool on your own photo — the before/after previews show its published preset.
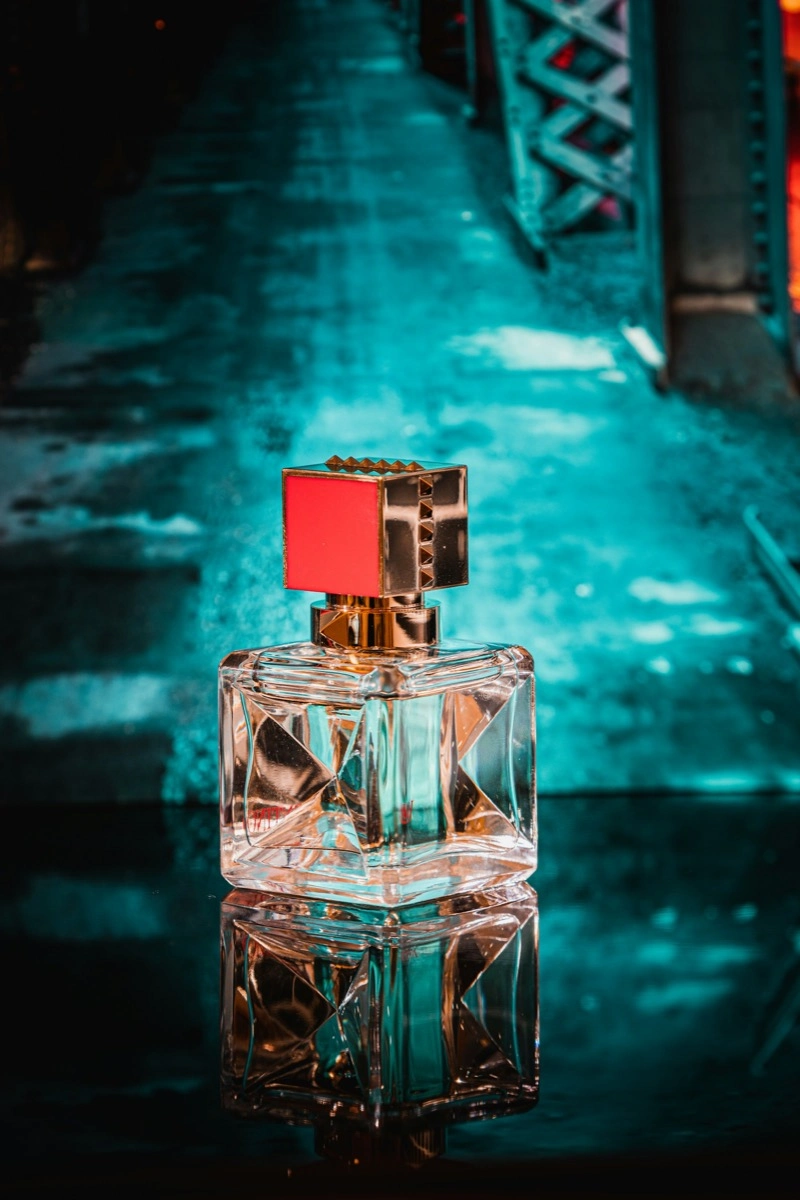
Turn one packshot into a studio or lifestyle scene; label, shape, and colors stay.
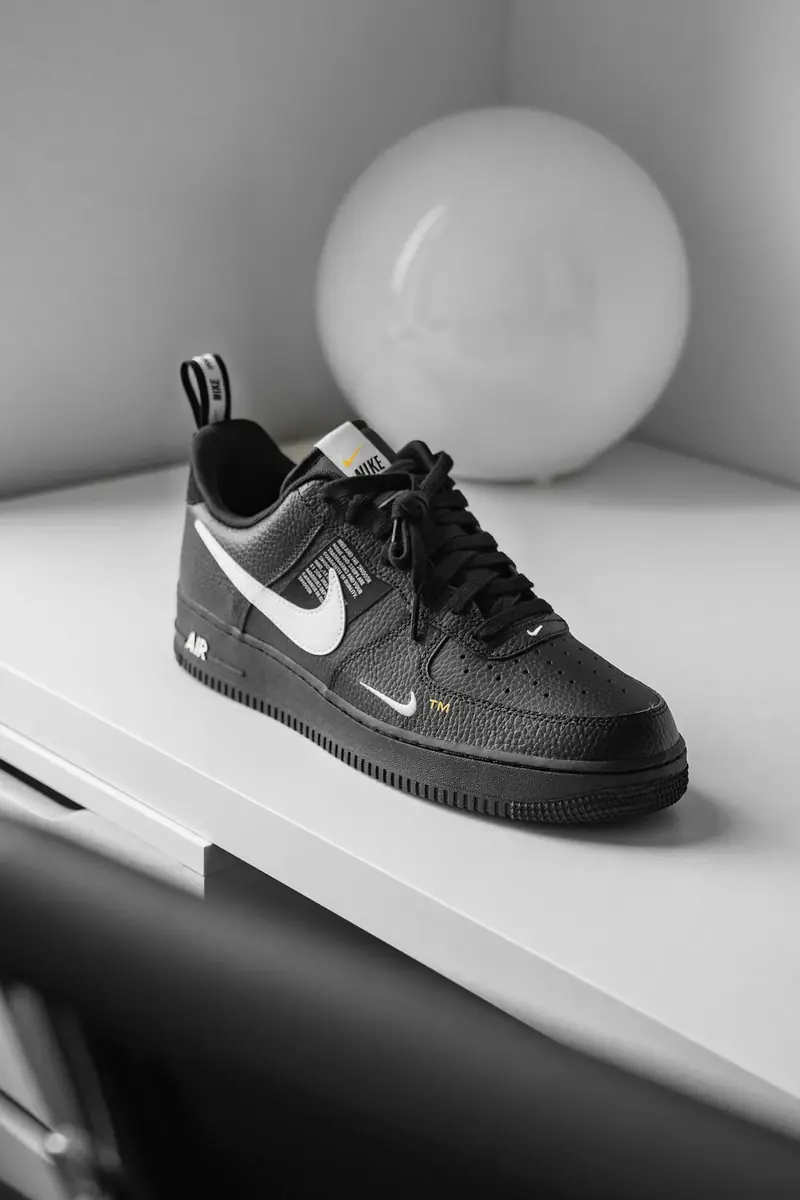
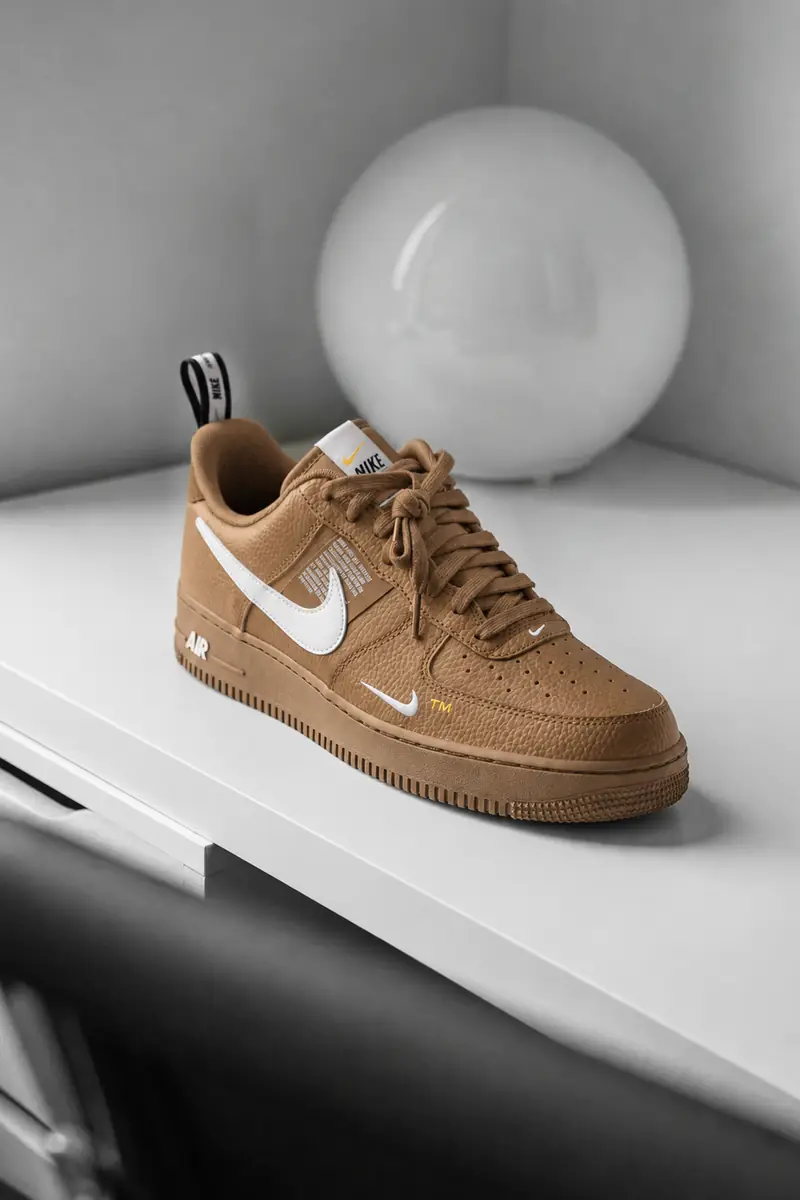
Recolor an object or outfit from a prompt; the shape, texture, and labels stay.
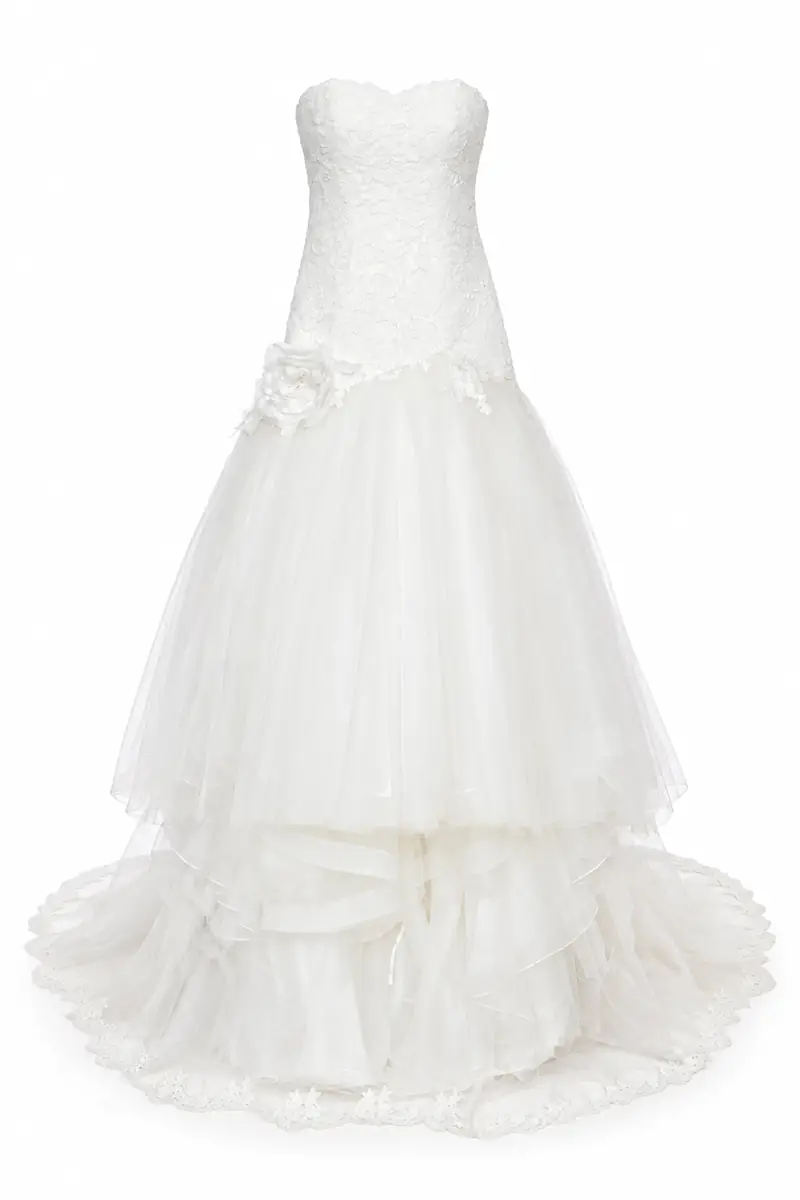
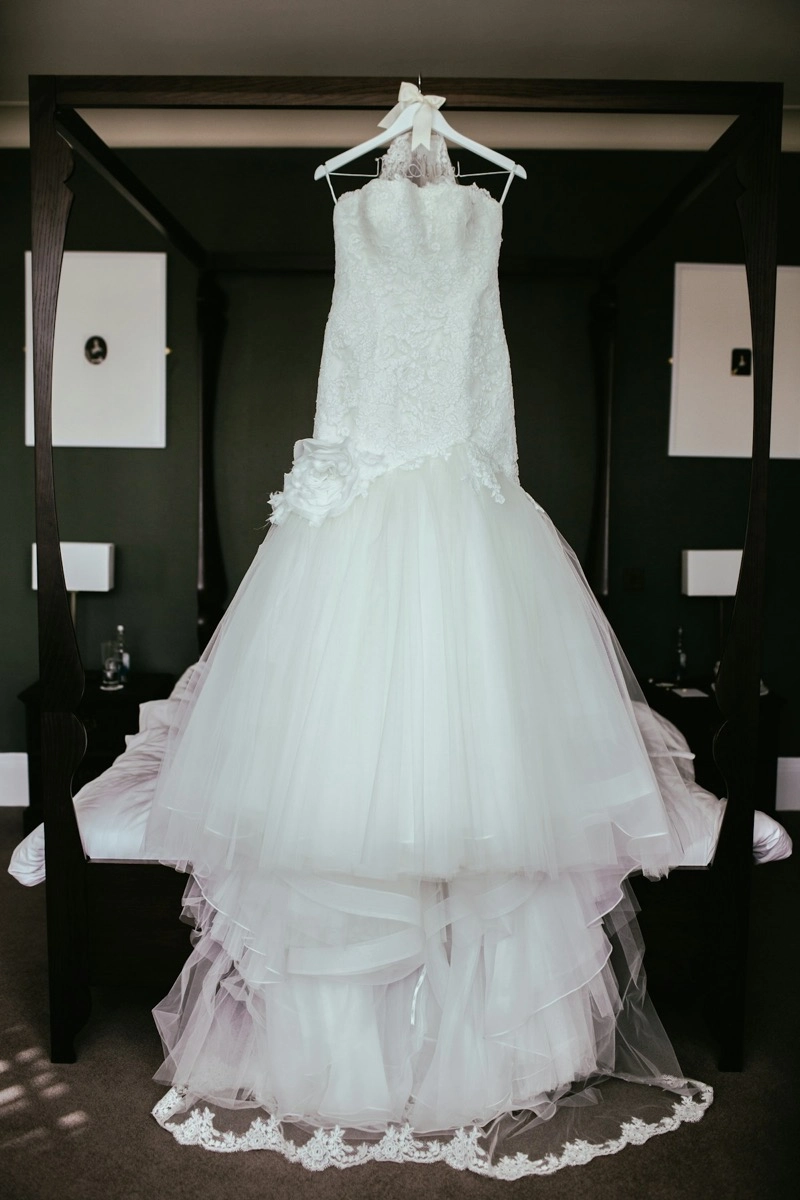
Turn garment photos into ghost mannequin shots; shape, stitching, and volume stay.
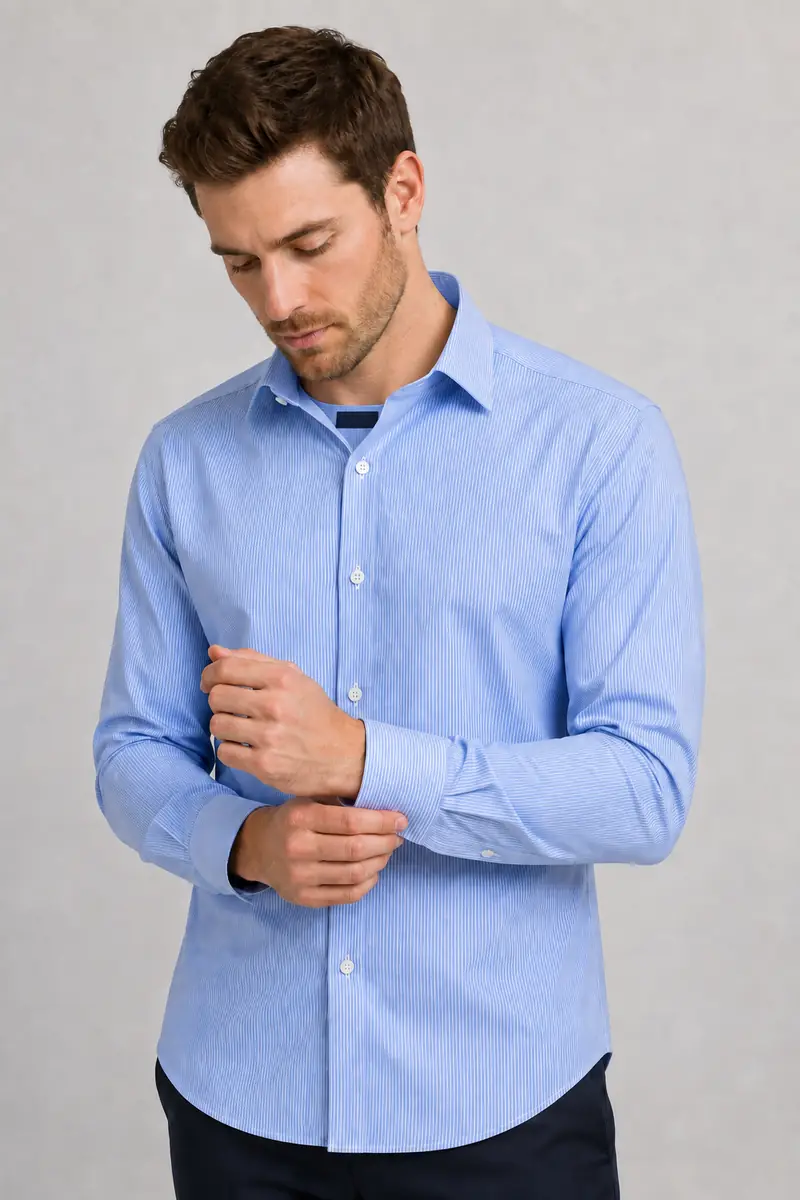
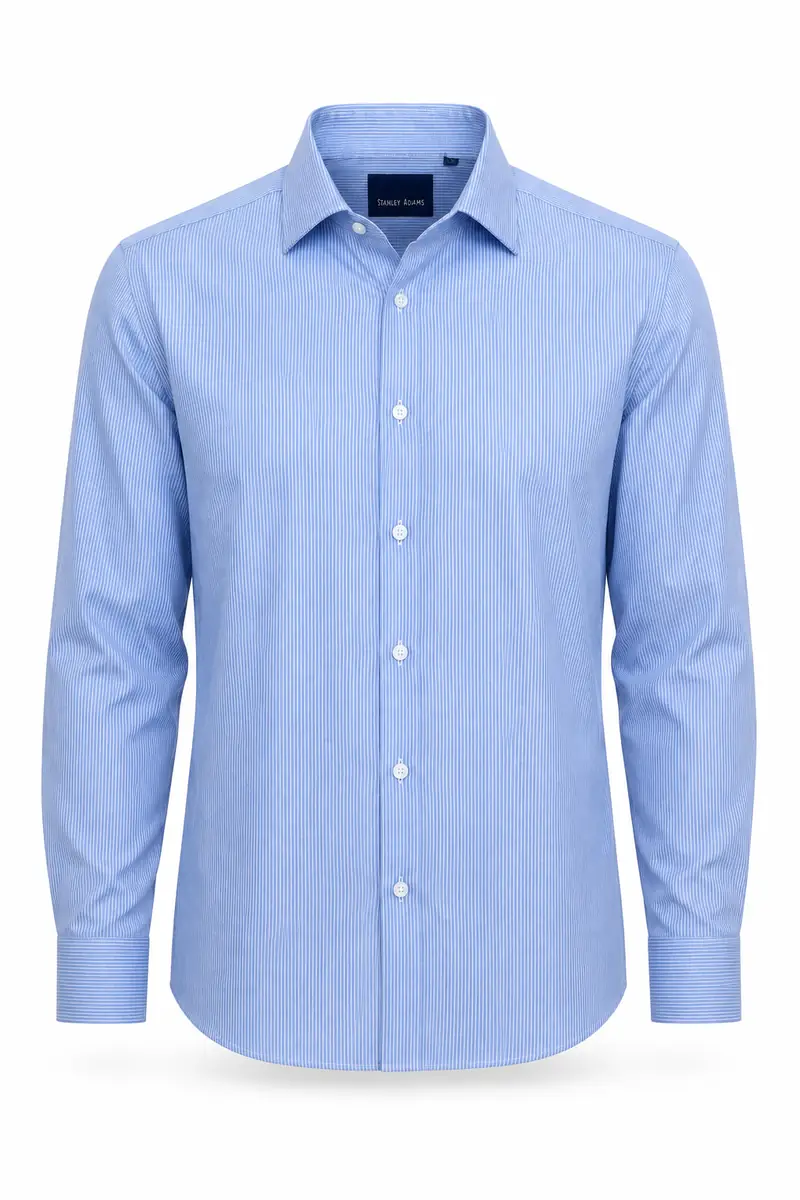
Turn a garment photo into on-model shots; describe the model while labels stay.
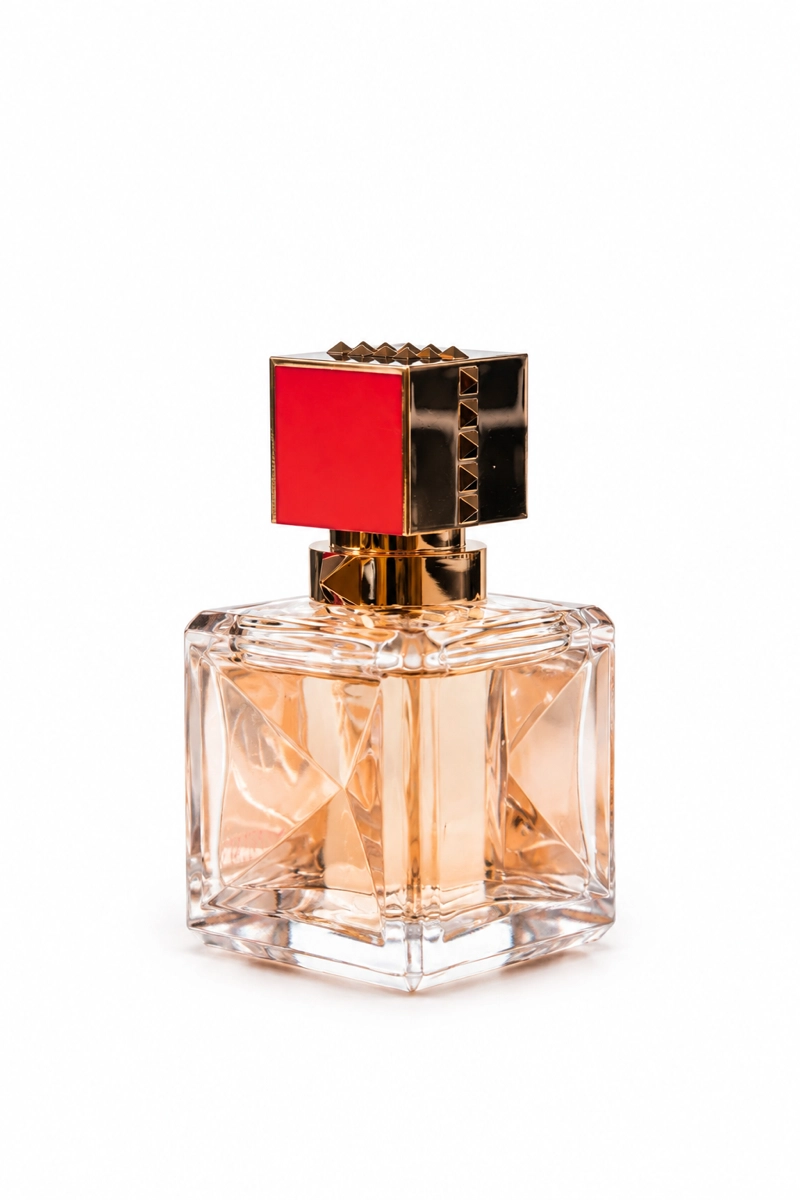
Add a clean white background in one prompt; edges and the natural shadow stay.
Every tool on this site runs on the same editor. Pick the one that matches the job — the workflow never changes.
Start from the sharpest original you have — a phone photo is enough. One image per pass keeps the edit predictable.
Name what should change in plain words: the outfit, the backdrop, the object to erase. No masks, layers, or sliders.
Compare the result with the original at full size, rerun with sharper wording if a pass misses, and download the keeper. Downloads carry no watermark.
Common questions about the product-photo tools.
The same editor, preconfigured for other jobs. Switch category or browse the full catalog.
Each tool is the same ImagEditorAI editor preconfigured for one job, so you can move between them without relearning anything.
Everyday photo edits — change outfits, try hairstyles, lift filters, restore old prints, and add text.
Studio-grade portraits and cleanup — AI headshots, background, object, and shadow removal.
Upload your product photo, describe the shot you need, and review every variant before downloading.