ImagEditorAI

Ghost Mannequin: Turn Garment Photos into Invisible Mannequin Shots

Upload a garment photo (worn, flat, or on a hanger), ask for the ghost mannequin effect in one line, and name what stays. The tool removes the model or hanger, rebuilds the garment's 3D shape, and returns a clean product shot for your catalog.

  • No sign-up
  • Free daily credits
  • No watermark
0 / 1000

Example 1 of 3

Ghost mannequin from a model shot

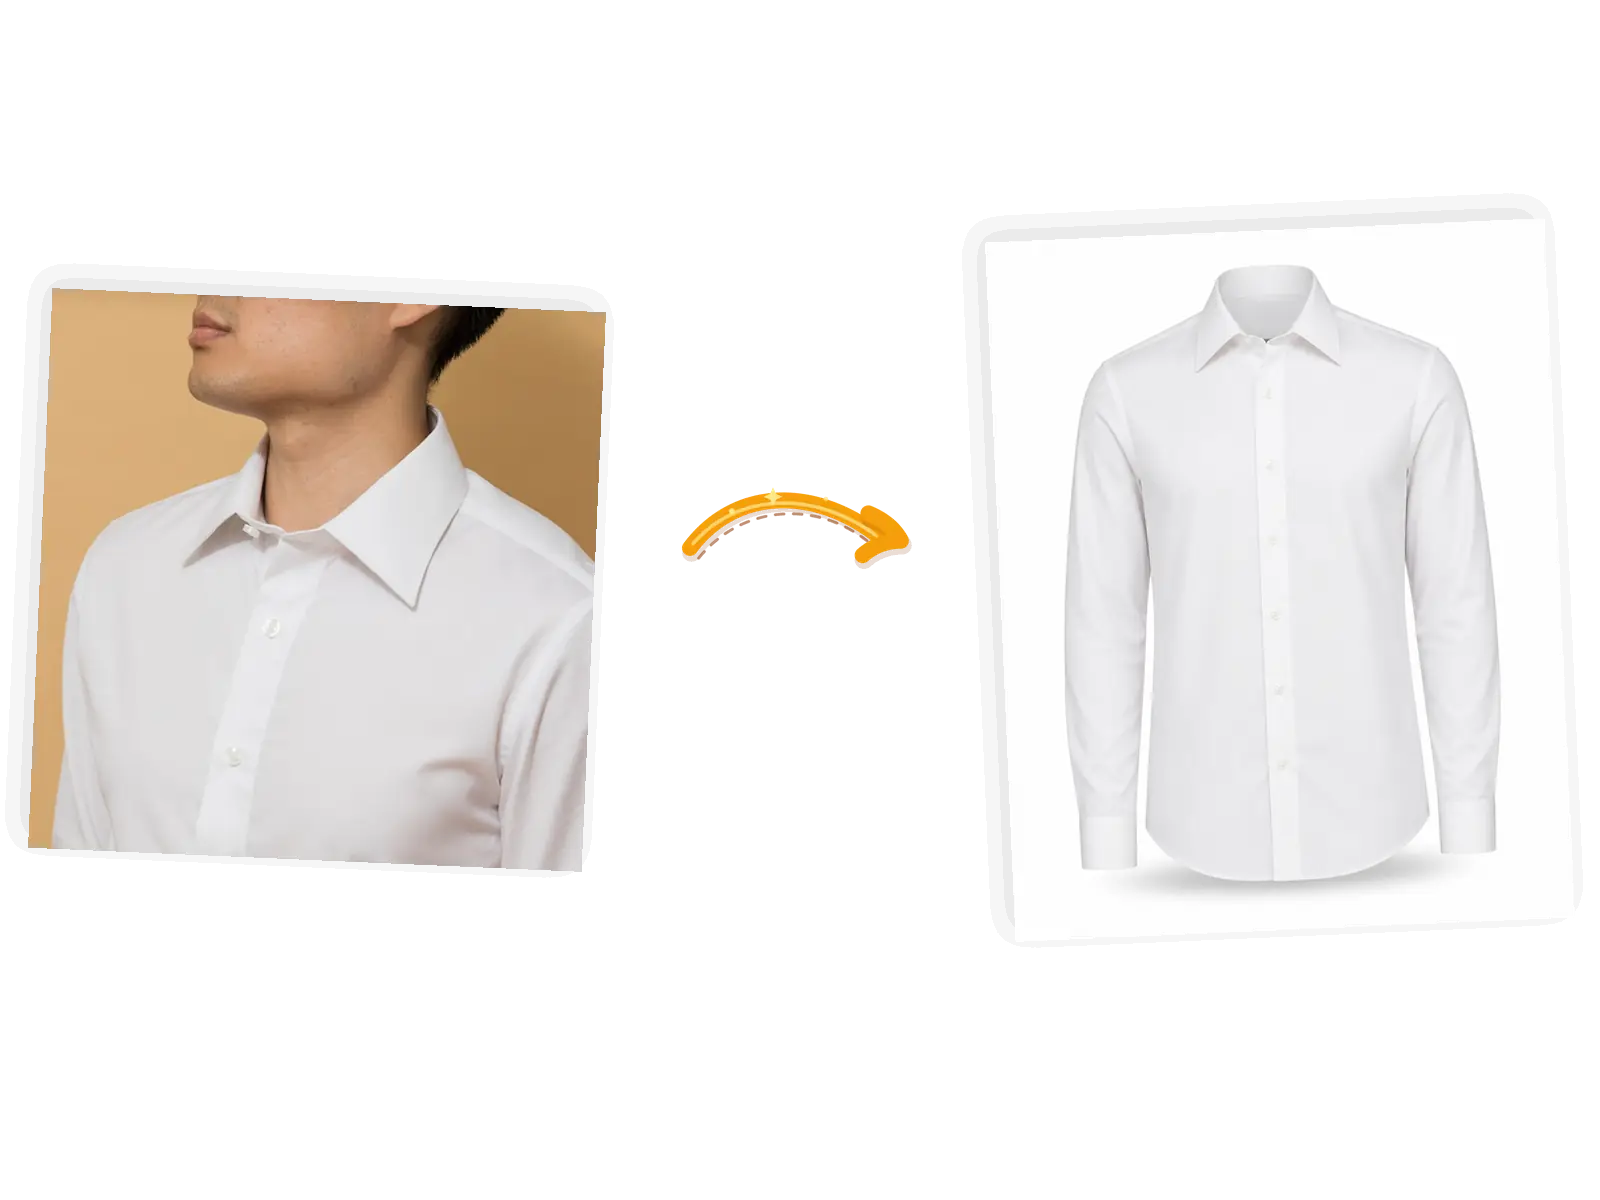
The shirt edit: the model leaves and the white dress shirt keeps its shape as a ghost mannequin shot
Prompt

Remove the model and rebuild this white dress shirt as a ghost mannequin product photo; keep the collar, buttons, and fabric texture unchanged; clean white background

What Makes This Ghost Mannequin Tool Different

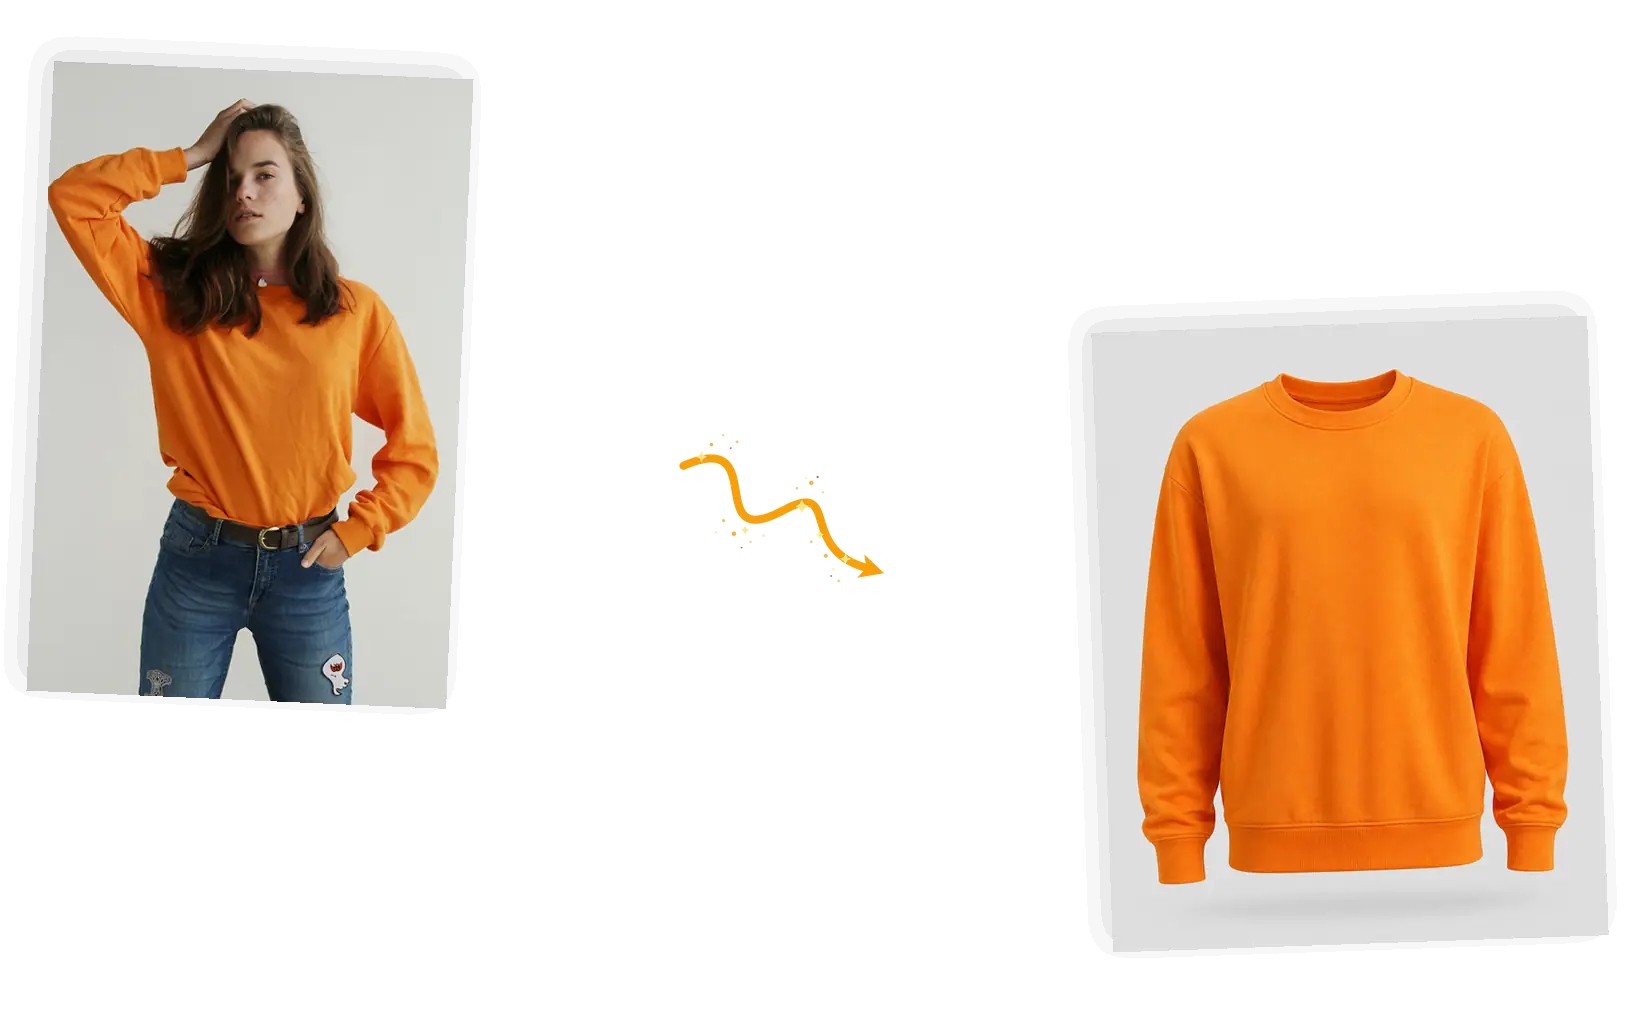
An orange sweatshirt photographed on a model becomes a ghost mannequin shot on a plain background

The model leaves, the garment stays

A ghost mannequin shot is the garment on an invisible body: no model, no hanger, no dress form in the frame. Describe the effect once, and the tool separates the clothing from the person, then rebuilds the hollow shape with its volume back.
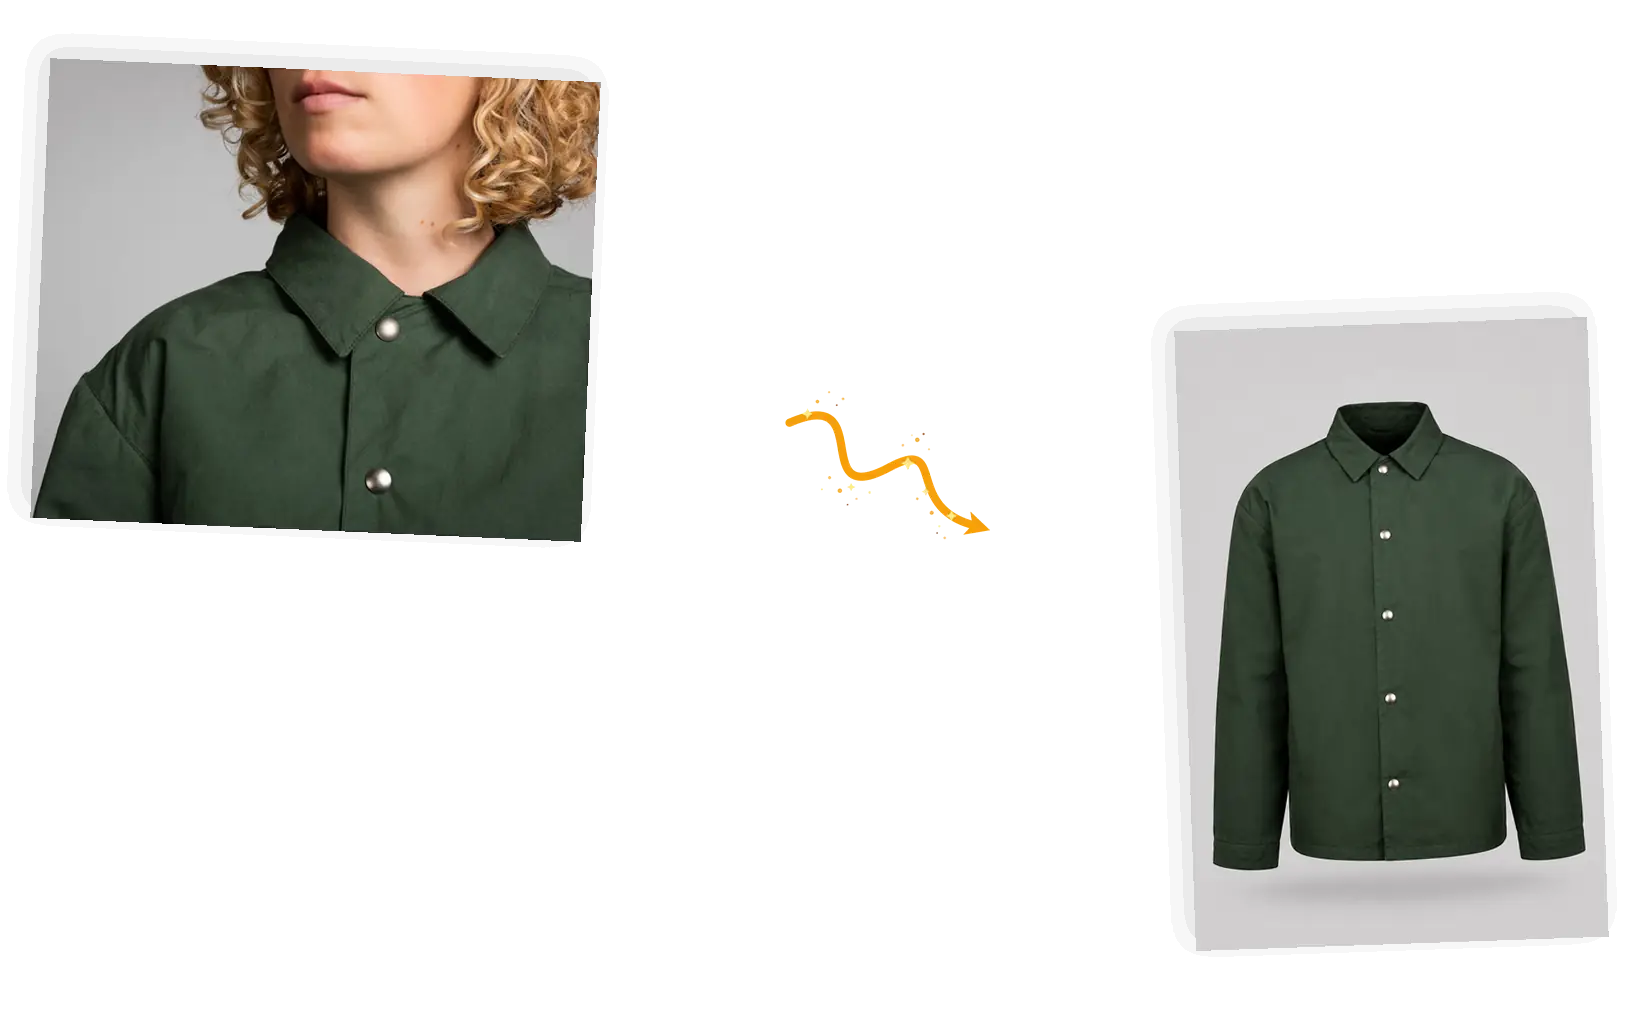
A green chore jacket keeps its spread collar and snap buttons as a ghost mannequin shot

The neckline is rebuilt, not guessed

Necklines are where cheap edits fall apart. Add a close-up of the inner label as a second reference photo, and the collar, tag, and hood seams get a real source to follow instead of a guess.

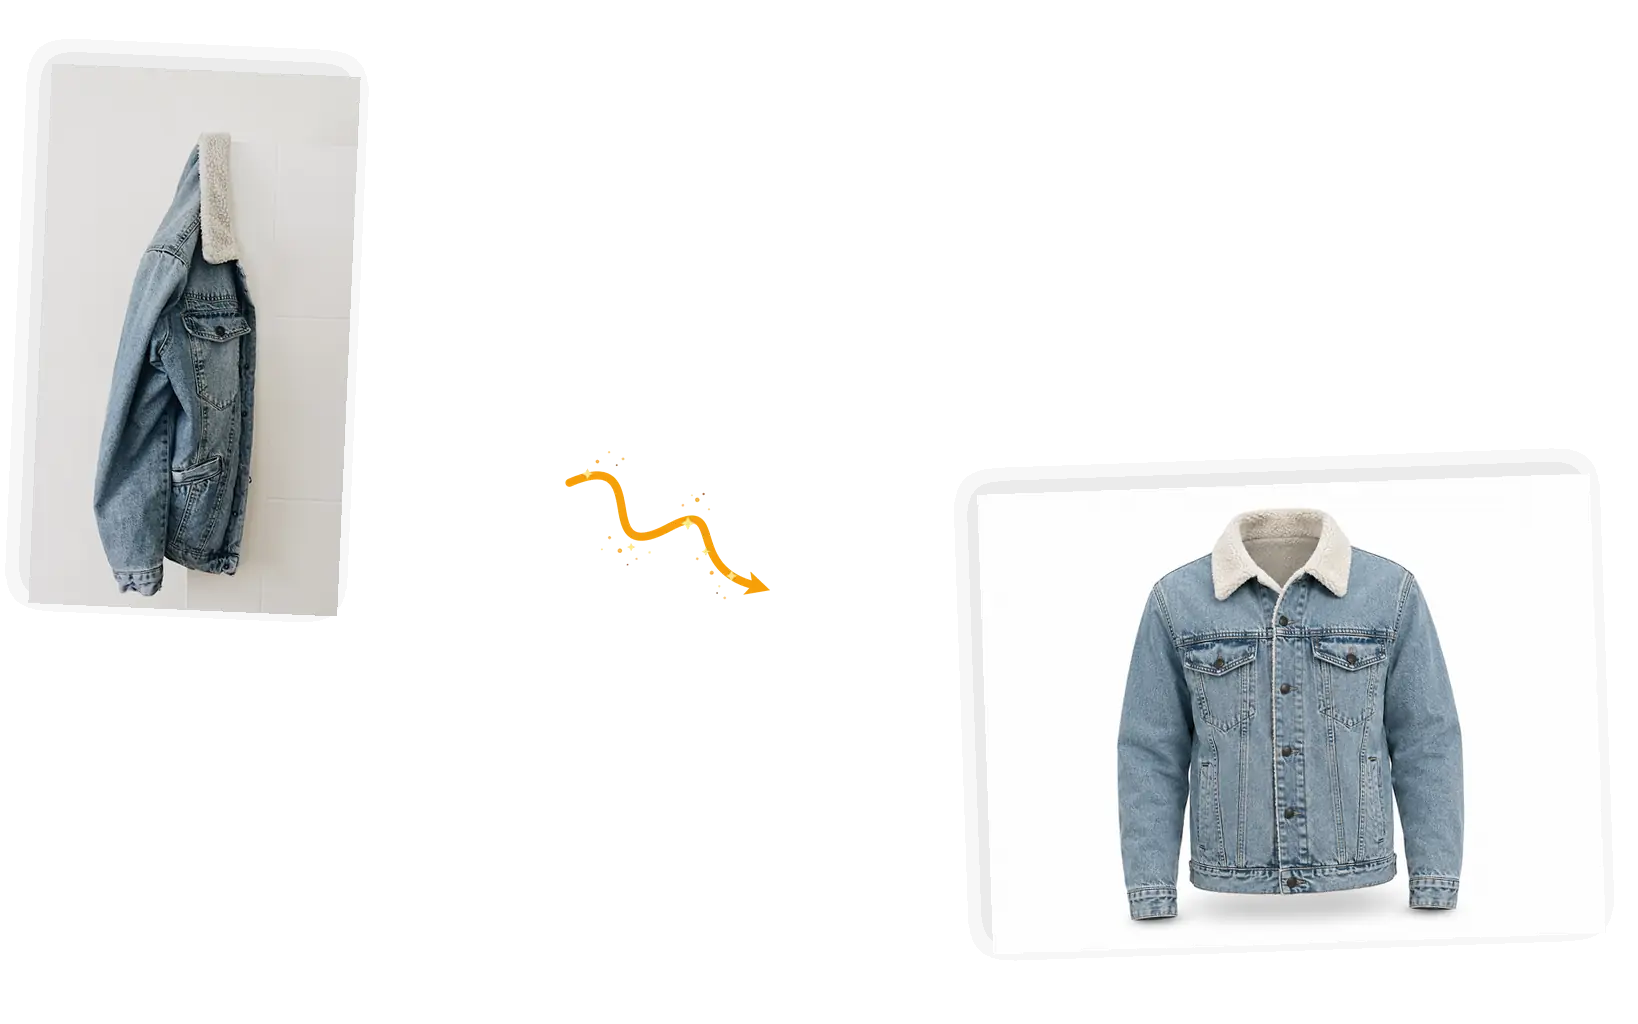
A denim jacket photographed on a door becomes a ghost mannequin shot on a clean white background

Catalog-ready output

Results land on a plain background at the ratio you choose, so the picture fits the listing slot. Zoom in on the collar, seams, and print before you download; if anything drifted, rerun with a tighter keep-list.

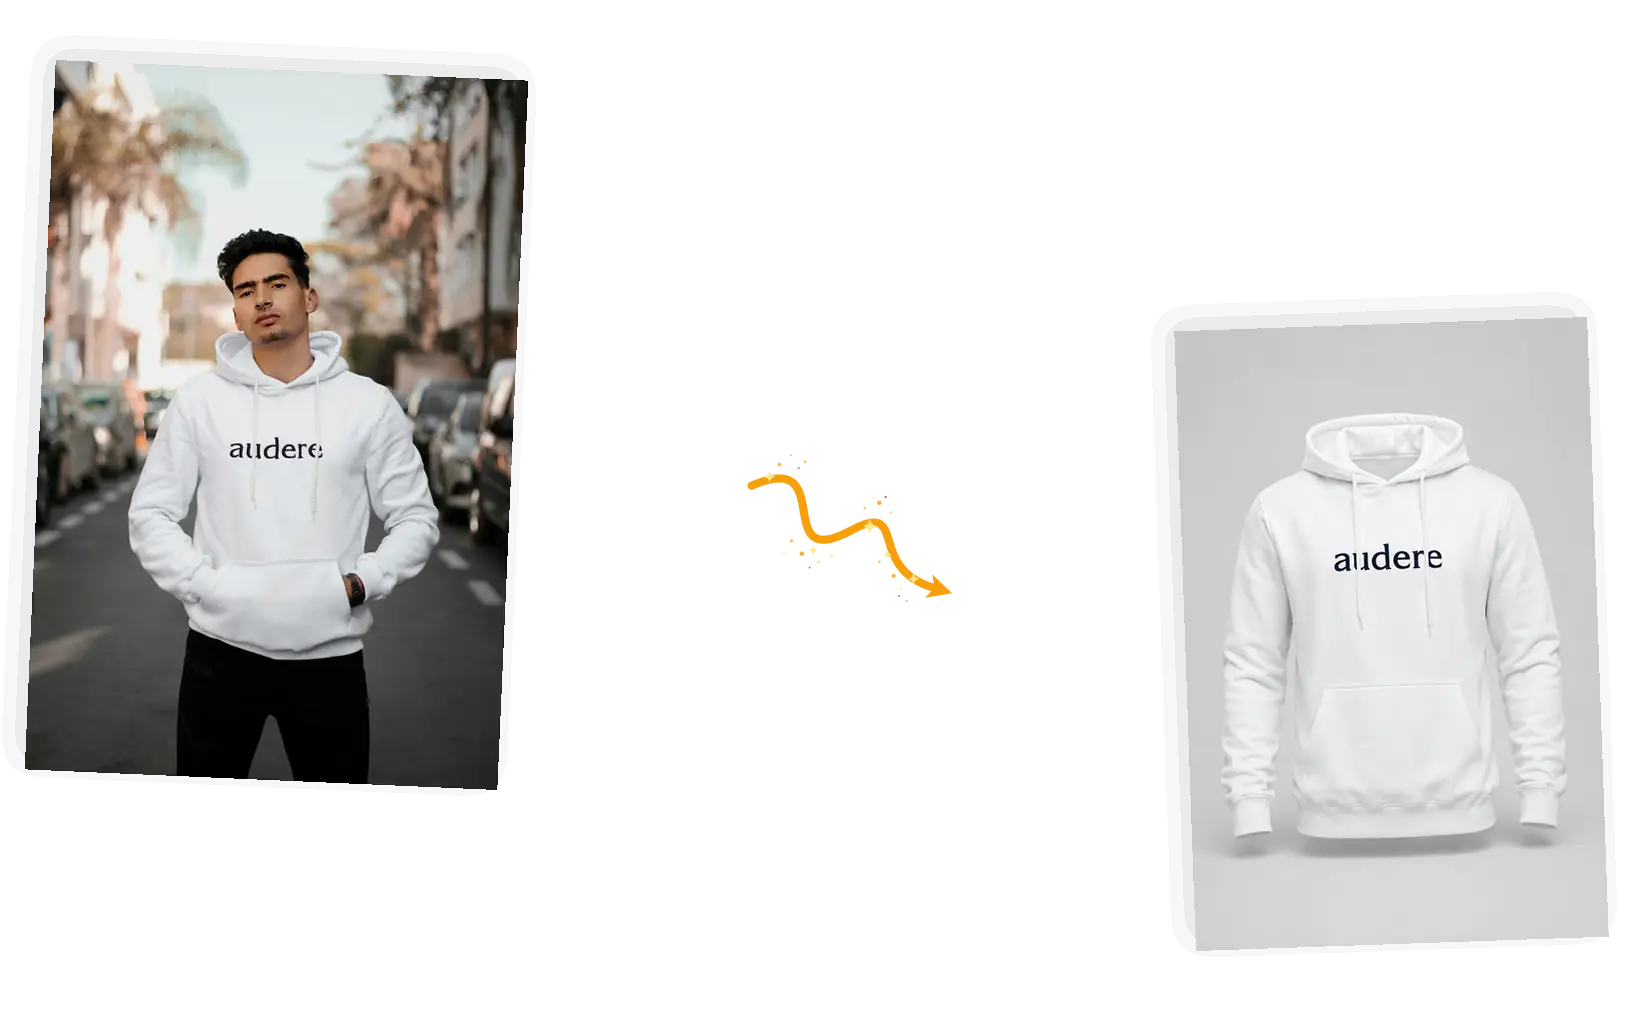
A white printed hoodie leaves the street backdrop behind as a ghost mannequin shot

Keep editing after the effect

The ghost mannequin shot downloads at full resolution or stays in the workspace for the next instruction: a white background for the marketplace, a lifestyle scene for the campaign, or a text change on the care label.

What Is the Ghost Mannequin Tool?

The ghost mannequin tool is an AI editor that turns ordinary garment photos into the invisible mannequin look that clothing catalogs use. Upload a photo of a shirt worn by a model, a dress laid flat, or a jacket on a hanger, write one sentence asking for the ghost mannequin effect, and name what must stay: the color, the print, the collar, the label. The tool removes the person or prop, rebuilds the garment as a three-dimensional form, and returns the finished picture on a plain background. It is the same job that used to mean Photoshop neck joints or an outsourced editing service, done from photos you already have. One garment per edit, and results are generated, so check the collar and shape before you download and rerun if something drifted. Sheer fabrics such as lace and mesh vary the most.

How to Use the Ghost Mannequin Tool

Five steps to a ghost mannequin shot.

1

Upload the garment photos

Bring the picture as a JPEG, PNG, or WebP file up to 20MB. A photo worn by a model, laid flat, or hung on a hanger all work; smooth fabric and even light rebuild cleaner than dim or crumpled originals.

2

Describe the effect

Ask for the ghost mannequin look and name what stays: the color, the print, the stitching, the label. When the neckline matters, add an inner-label close-up as a second reference.

3

Choose the output

Keep the original aspect ratio or switch to a square for marketplace listings. The editor shows the credit cost before you generate.

4

Generate and check the collar

The tool removes the model or hanger and rebuilds the garment's shape. Zoom in on the neckline, seams, and print; rerun with a sharper keep-list if the shape or collar drifted.

5

Use the result

Download at full resolution, or keep editing in the same workspace: a white background, a lifestyle scene, or the next instruction.

Why Use the Ghost Mannequin Tool?

Skip the reshoot and the props

A dress form, a studio afternoon, and hours of neck joint editing are the usual price of this look. The ghost mannequin tool builds it from photos you already have, without a reshoot.

One sentence, not one workflow

Manual edits mean pen paths, layers, and rebuilt collars by hand; outsourced editing means per-image fees and days in a queue. Here the edit is one sentence with a keep-list, and the suggestions show the pattern.

The result is a starting point

Download the finished shot, or keep going in the same workspace: put the garment on a pure white background, drop it into a scene, or send it to the image text editor.

How the Ghost Mannequin Tool Compares

Three common ways to get the ghost mannequin effect, compared on what each one asks of you and where the prompt-driven edit fits.

DimensionManual neck jointOutsourced editing servicesGhost Mannequin Tool
InputThe photo, plus pen paths, layer masks, and hours at the deskThe photo, uploaded to a service queue with a briefThe photo, plus an optional inner-label shot, and one sentence
Control over the resultFull control, at the cost of hand-built collars and shadowsA brief and a revision round; the editor decides the detailsPrompt-level: name the collar, label, print, and what must not change
OutputWhatever you export after rebuilding the form yourselfDelivered files on the service's schedule and export settingsThe ratio you choose, with high-resolution download
TurnaroundEvenings per batch; every garment repeats the workDays in a queue, priced per imageOne garment per edit, in the same session
Learning costHours of practice with selections, layers, and masksNone of the editing skill, but you manage the orderingOne sentence; ready-made suggestions show the pattern
Result managementProject files you manage yourselfDelivered once; revisions go back through the queueDownload it, or keep editing in the same workspace

Tips for Better Ghost Mannequin Prompts

The prompt is the whole instruction: name the effect and what stays.

  • Name what must not change: the color, the print, the stitching, the label.
  • Say how the garment sits in the photo: worn, laid flat, or on a hanger. Each start rebuilds differently.
  • One garment per prompt; check the collar after each run and rerun with tighter wording.

Remove the [model or hanger] and rebuild the [garment] as a ghost mannequin shot; keep the [color, print, collar, label] unchanged.

A model shot

Too vague

ghost mannequin this shirt

More useful prompt

Remove the model and rebuild the white dress shirt as a ghost mannequin photo; keep the collar, buttons, and fabric texture unchanged

A flat lay

Too vague

make the shirt look 3D

More useful prompt

Unfold the folded striped shirt into a ghost mannequin shot with natural volume; keep the stripes, buttons, and inner label unchanged

A neckline that matters

Too vague

fix the collar

More useful prompt

Use the second photo of the inner label to rebuild the neckline; keep the tag, hood seams, and drawstrings unchanged

Who Uses the Ghost Mannequin Tool

Independent clothing brands

A collection page reads better when every garment gets the same treatment. Shoot each piece once, then use the ghost mannequin tool to even the catalog out, one photo at a time, without a mannequin or a reshoot.

Ecommerce sellers

Marketplace listings ask for a clean shot of the garment alone. Photos from a supplier or a shoot with a model can become ghost mannequin images that fit the slot and show the cut of the piece.

Resellers and vintage sellers

One-of-one pieces do not come back for a second shoot. The ghost mannequin tool lifts each garment out of its hanger or flat-lay photo and presents it with the shape buyers want to see.

Ghost Mannequin FAQ

Quick answers about the ghost mannequin tool, before you run the first edit.

You upload a garment photo and write one sentence asking for the ghost mannequin effect. The model separates the clothing from the person, hanger, or background, then rebuilds the garment as a three-dimensional form on a plain background. The result is generated, so check it and rerun if the shape needs another pass. To go the other way and put a garment on a generated model, use the AI fashion model tool.

Yes, and the input is yours to control. Add a close-up of the inner label as a second reference photo, and mention the collar and tag in your prompt. The neckline still gets generated, so zoom in after the run; if the collar looks off, rerun with the label photo attached.

Your prompt names what must stay, such as the color, the print, the stitching, and the label, and the tool follows that keep-list. Because the shape is rebuilt rather than cut out, small drift can happen. Compare the result with the original at full size and rerun when something important moved.

JPEG, PNG, and WebP files up to 20MB each, up to five reference photos per edit. A front-facing photo with even light and visible edges rebuilds best; a dim, blurry, or back-facing photo gives the model less to work with. Smooth the fabric before shooting when you can.

Three usual causes: no label reference for the neckline, a photo that hides part of the garment, or one prompt asking for too much. Add the inner-label photo, start from a clearer front-facing shot, or split the request into two edits, then rerun.

Eligible guests refresh to 9 free credits each UTC day, and account holders refresh to 15; unused daily credits do not accumulate. The editor shows the credit cost before each generation.

Try the Ghost Mannequin Tool for Free

Upload the garment photo, describe the effect and what stays, and the ghost mannequin tool returns the finished shot in the same workspace.