
Name the shadow, not the whole photo
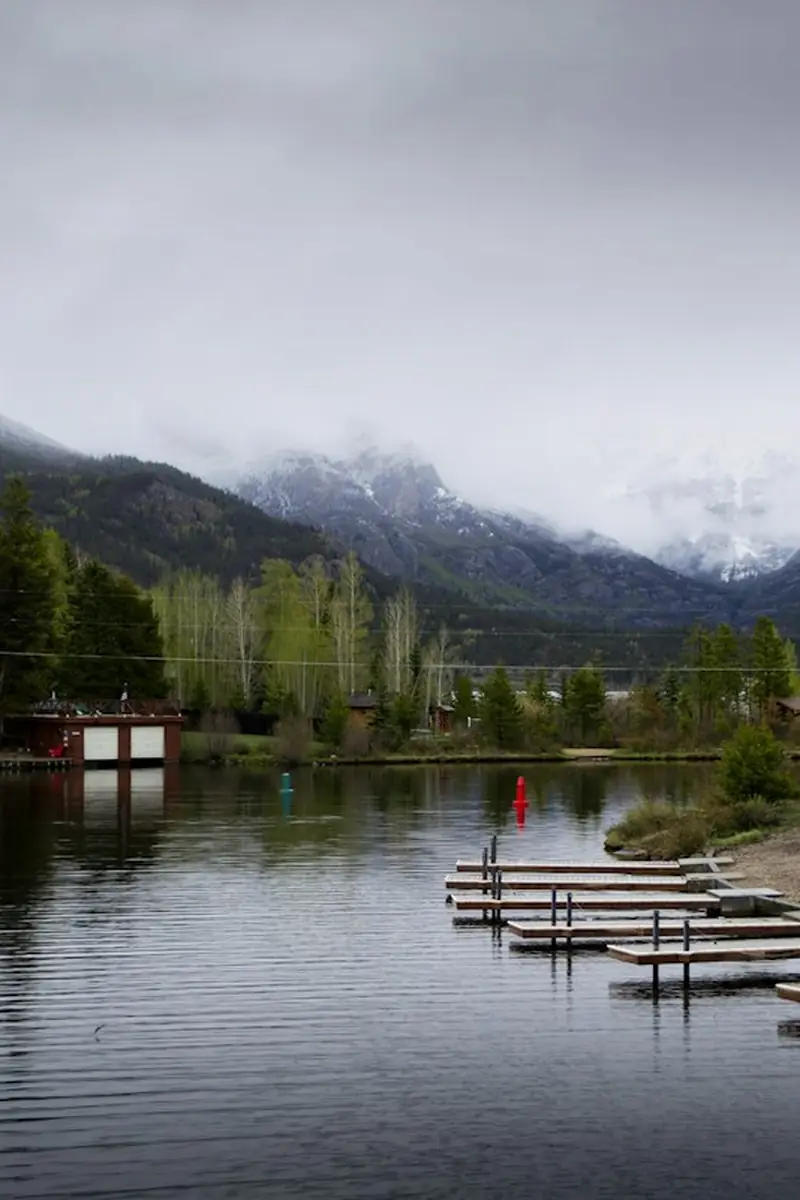
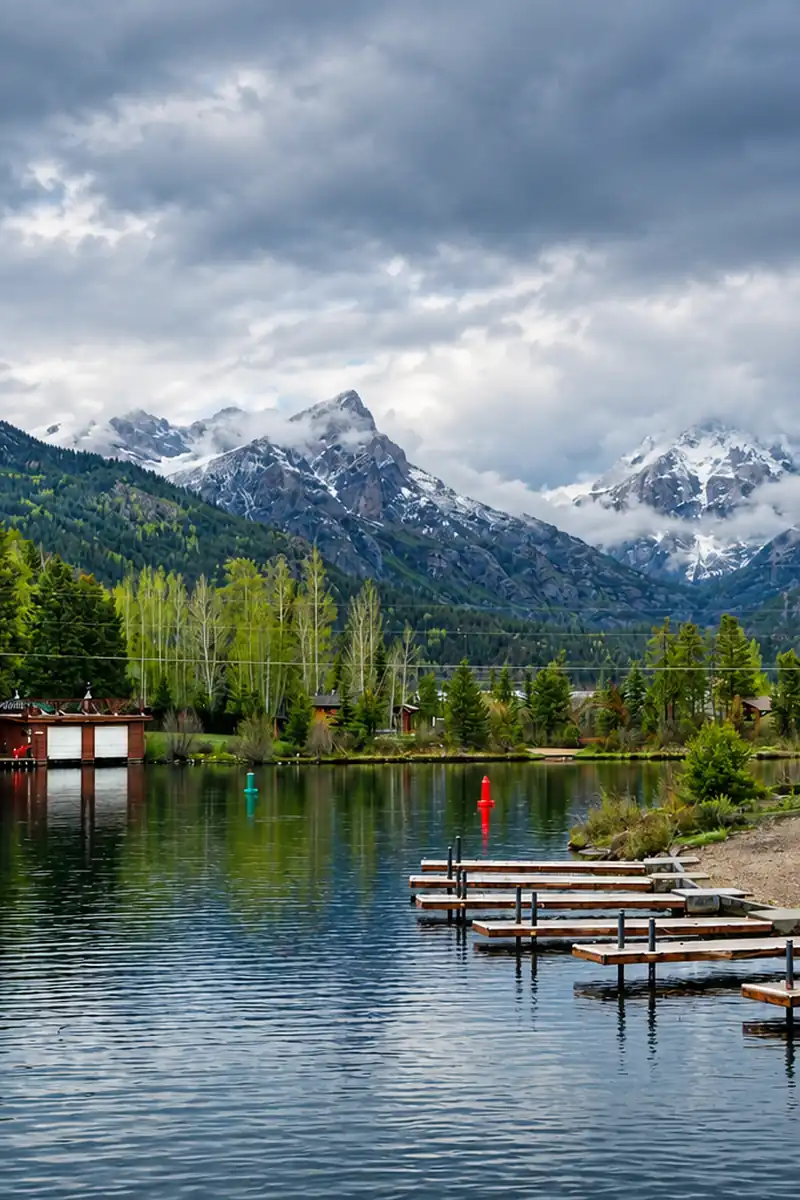
Point at the shadow you want gone: where it falls and what casts it. The edit targets that area instead of brightening the entire picture, so lit regions keep their original exposure.

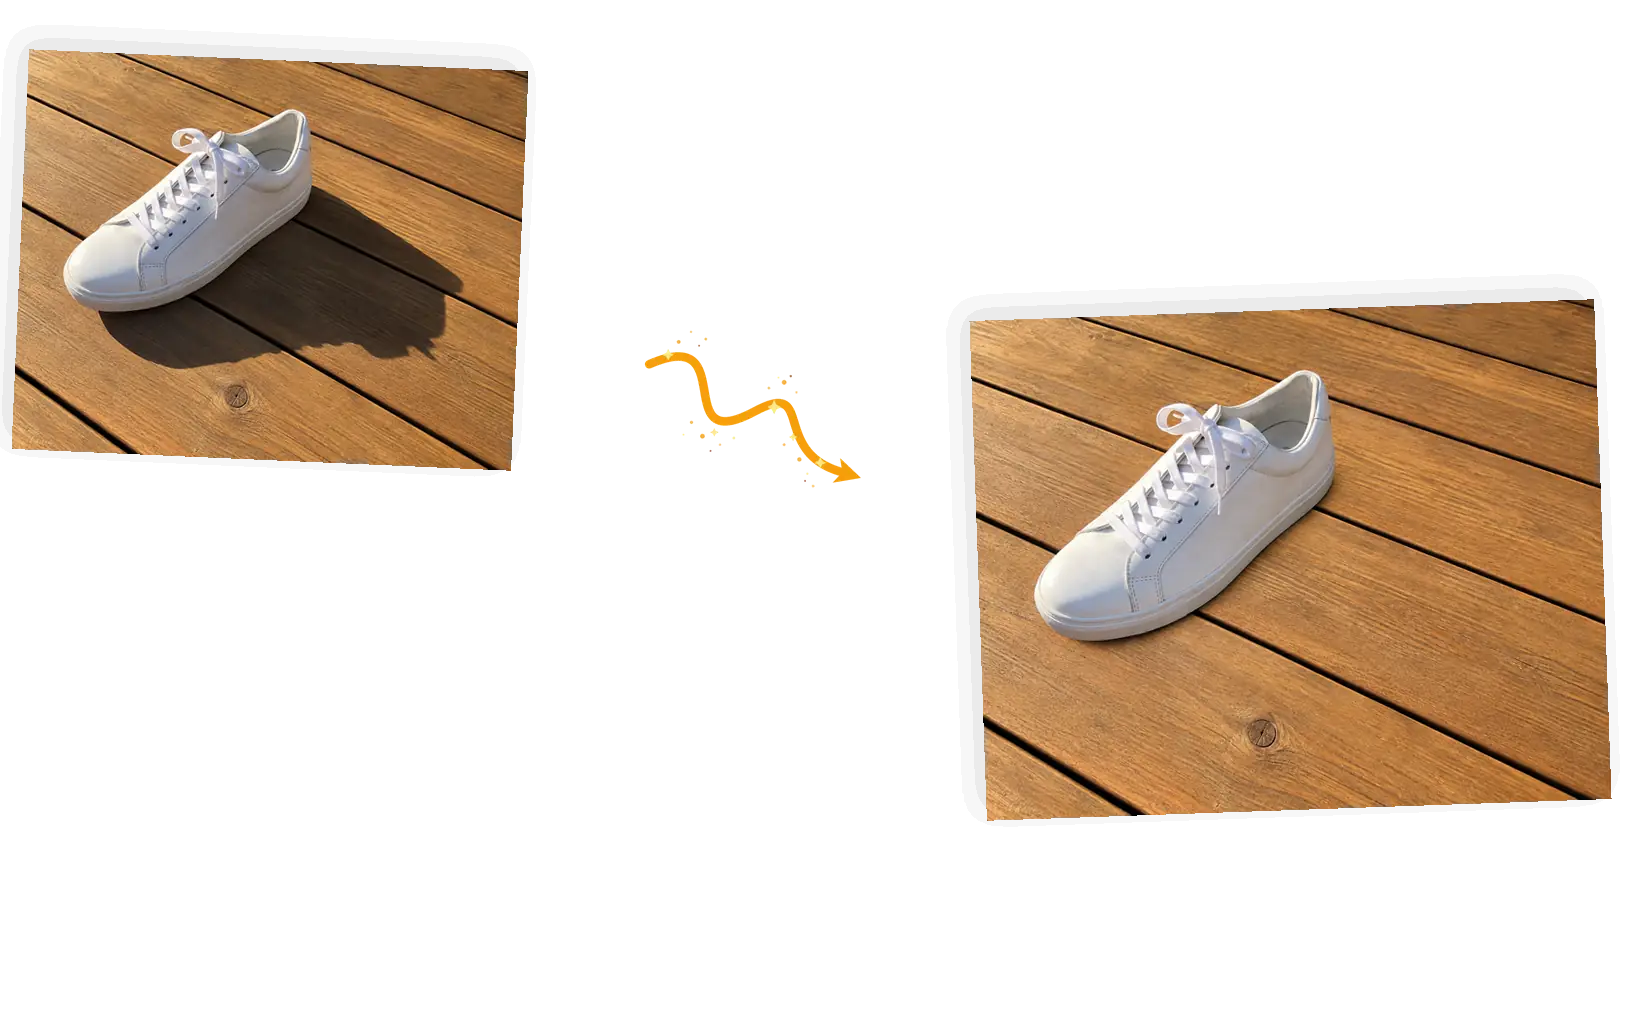
Upload a photo and name the shadow: the stripe across a cheek, the cast shadow trailing a shoe, the blind stripes on a wall. The editor rebuilds the area underneath while the rest of the picture stays put.
Example 1 of 3
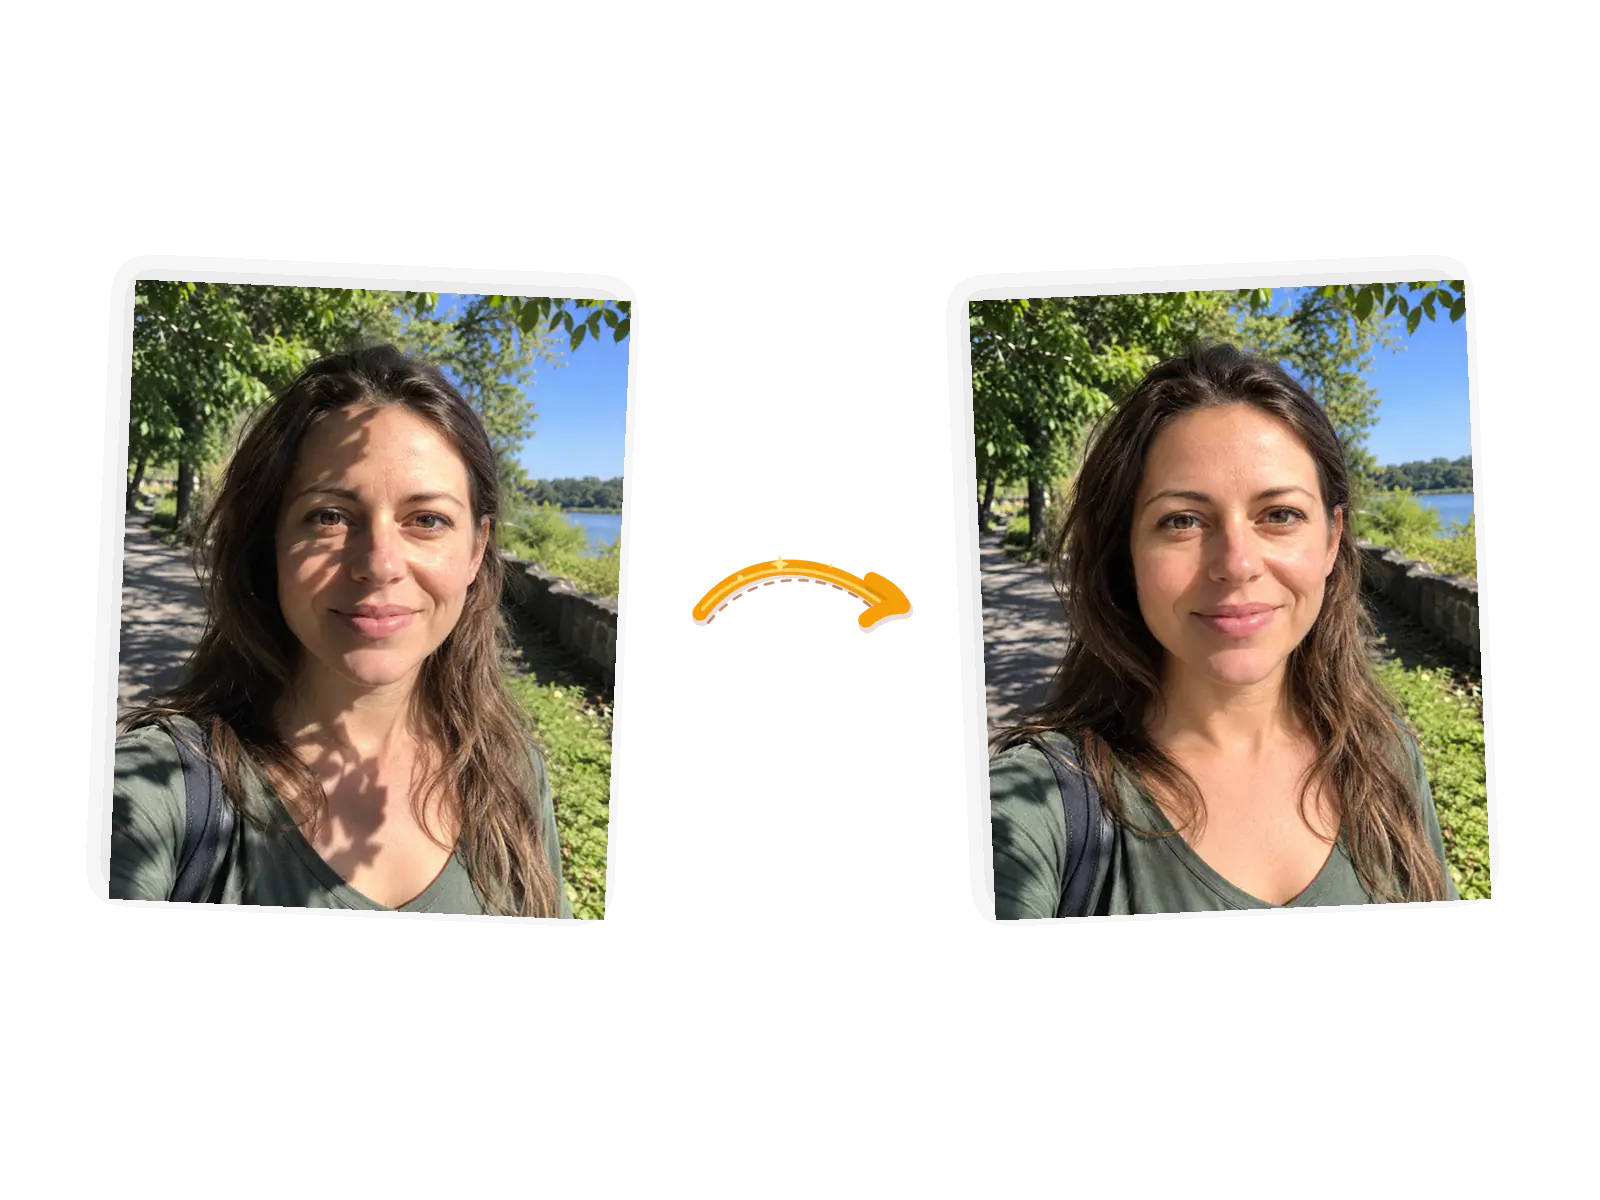
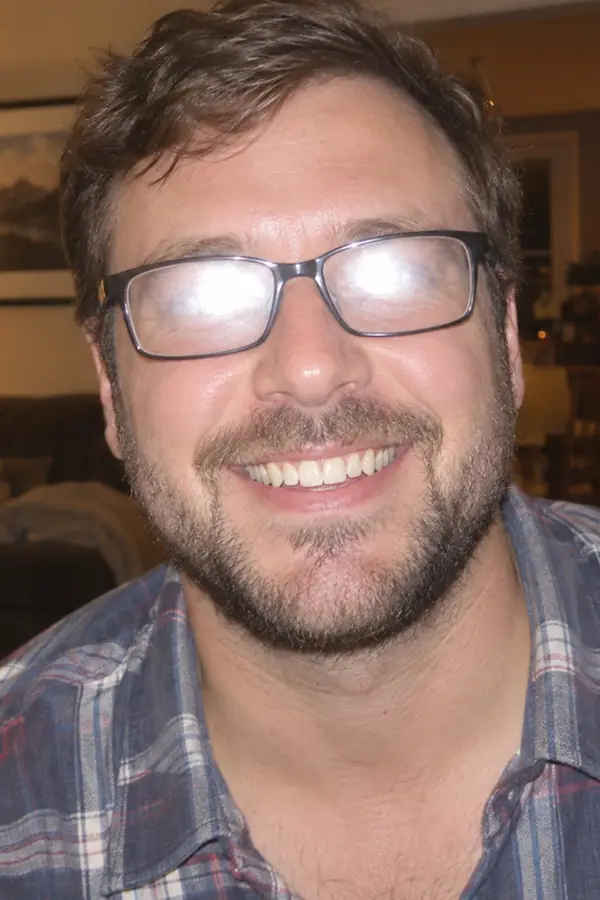
Remove the hard shadow across her left cheek and neck and rebuild the skin with even, natural light. Keep her facial features, expression, hair, pose, and the background exactly unchanged.
Point at the shadow you want gone: where it falls and what casts it. The edit targets that area instead of brightening the entire picture, so lit regions keep their original exposure.
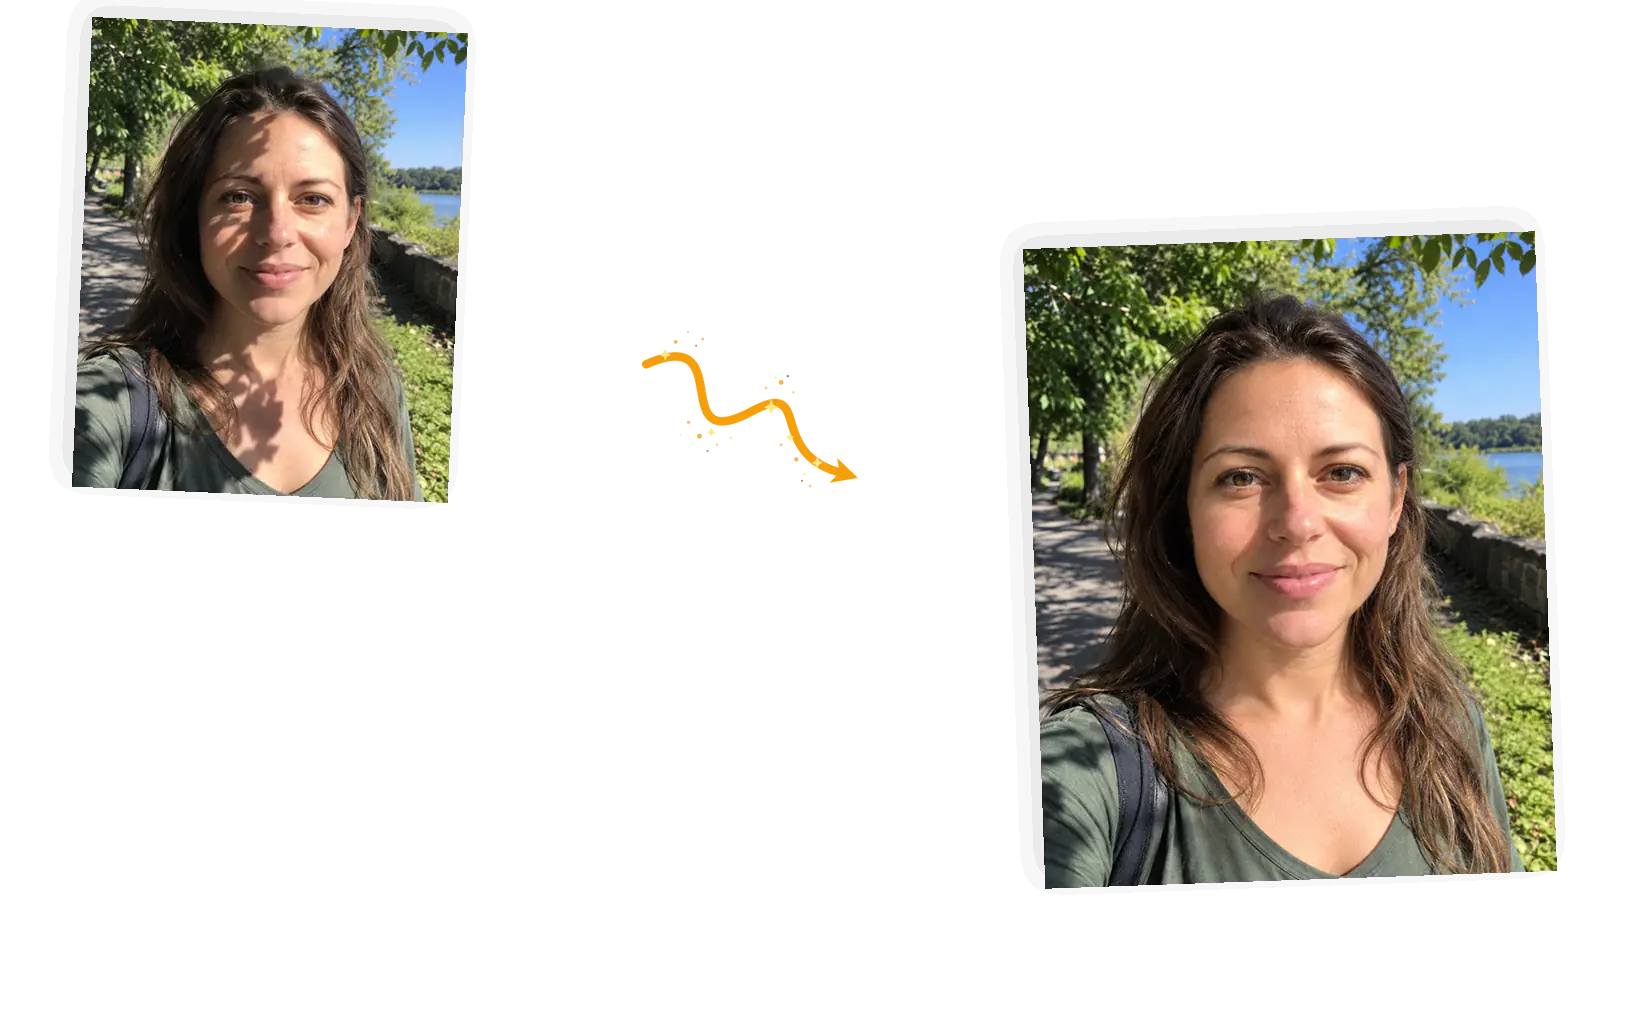
Say what must not move: her facial features, the product, the textures around the shadow. The prompt carries those constraints into the edit, which is what keeps the result recognizably the same photo.
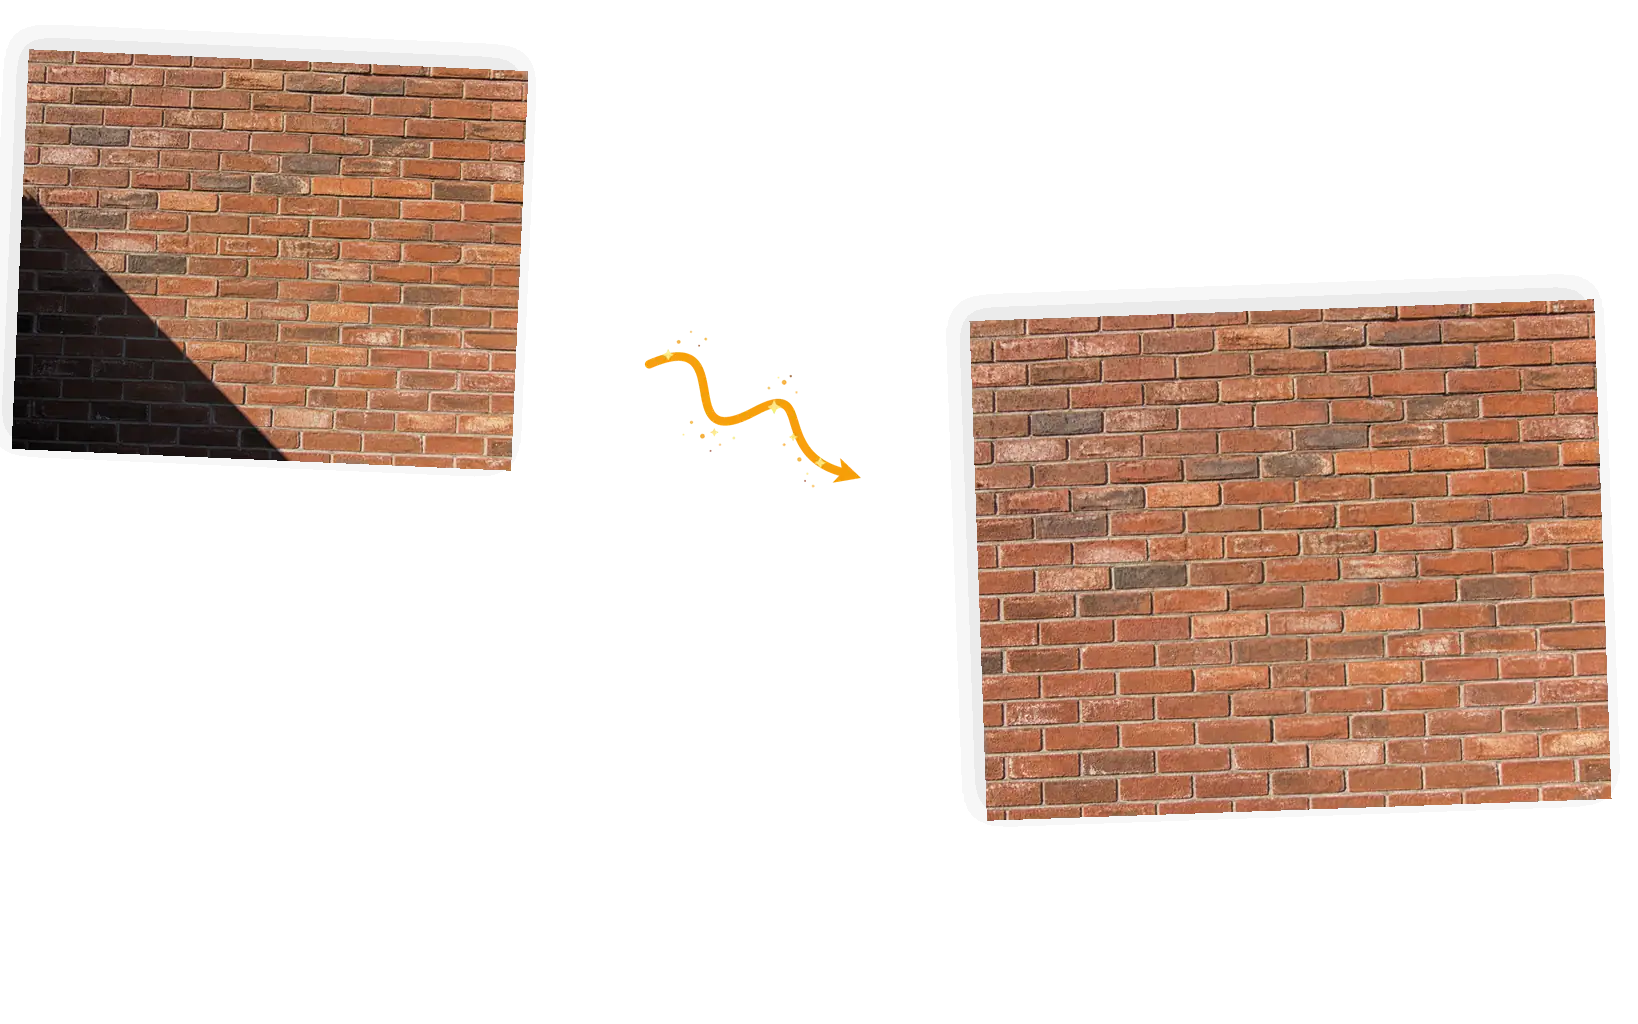
A shadow is not erased like a sticker; the pixels underneath are new. On plain floors and walls that reads clean. On brick, knit, or strong grain, zoom in after generating to check how the texture resumed.
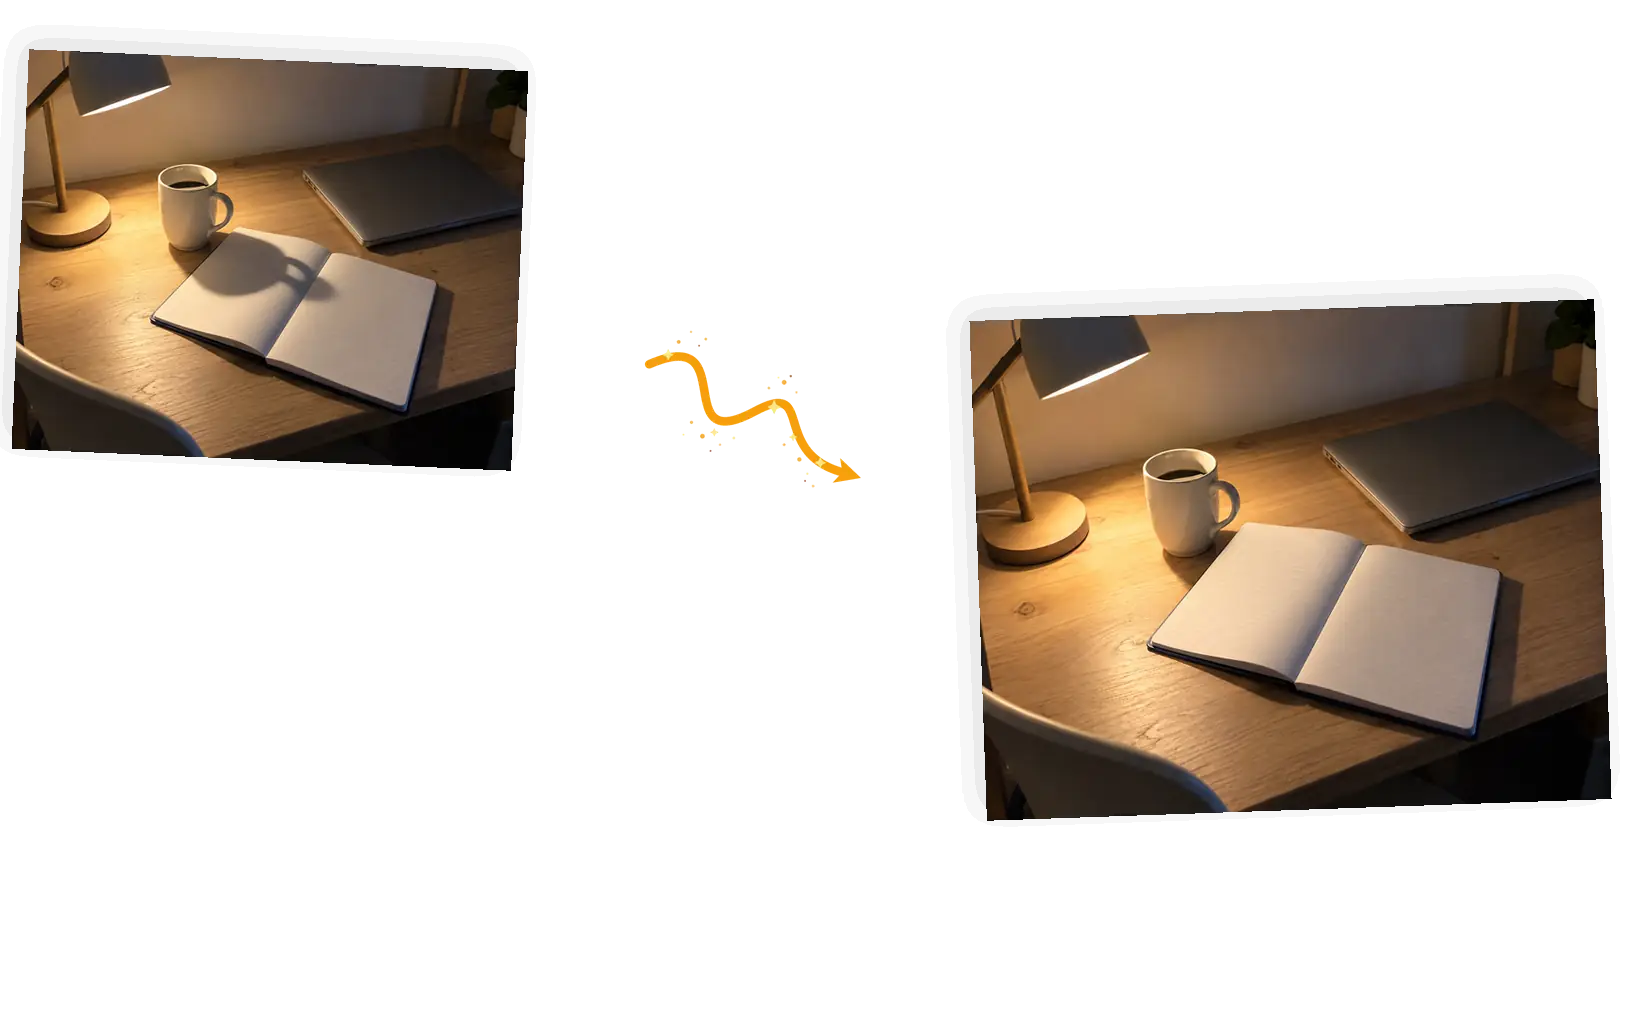
Generative results can vary. If the first pass leaves a dark edge or smooths a texture, rerun with a sharper description of the shadow's location. Failed tasks return their credits automatically.
A photo shadow remover targets one specific defect: the dark patch a window frame, a street sign, or the sun threw across an otherwise good picture. To remove a shadow from a photo used to require masks and healing brushes; here you describe where the shadow falls and what casts it, name what must stay, and the editor rebuilds the shaded area with light that matches the rest of the frame. It handles faces, products, floors, and walls, one photo at a time. The area under a shadow is re-drawn rather than brightened, so on busy textures a little zooming and a rerun are part of the job. Soft window light, hard midday sun, lamp falloff: when the shadow reads as a distinct dark shape, the prompt has something precise to work with.
Remove the shadow from your faceFive steps from shaded original to a clean download. The whole loop runs in the editor on this page.
Drop in a JPEG, PNG, or WebP up to 20MB. The sharper the shadow edges, the more precisely the prompt can describe them.
Where it falls, what casts it, and what must not change: her face, the product, the desk grain. One shadow per prompt keeps the edit predictable.
Keep the original ratio for most fixes. 1K at 3 credits fits inside the daily free allowance on most photos; pick a higher tier only when the image is bound for print.
The shaded region comes back re-drawn. Zoom in: skin tone should be even, grain and mortar lines should continue. Not quite right? Rerun with a sharper location.
Download full resolution with no watermark, or keep editing in the same workspace: another shadow, an object removal, or a rerun of this edit.
Global brightening washes out the parts of the photo that were already lit. Naming the shadow edits just that region, so highlights stay highlights and the picture keeps its contrast.
Hand removal means selecting around hair, product edges, and brick joints. Describing the shadow in a sentence takes a minute and no practice; the editor does the selection work.
Downloads are full resolution and watermark-free, and every edit stays in your workspace. Continue with an object removal or a color fix on the same photo without starting over.
Three ways to get the same job done. The honest differences, not a product takedown.
| Dimension | Manual retouching | General AI chat | This shadow remover |
|---|---|---|---|
| Pointing at the shadow | Mask and heal by hand, sampling nearby pixels | Describe it in words; the model decides what changes | Name the shadow's location and source in the prompt |
| Protecting the rest | Whatever your mask excludes is safe | Limited local control over an uploaded photo | Keep-list in the prompt: face, product, textures |
| Shadows per edit | As many as your patience allows | One photo per message, results vary | One shadow per edit, one photo at a time |
| Output | Whatever your software exports | Often re-generated at fixed sizes | Original ratio, full-resolution download, no watermark |
| Learning curve | Practice with masks, healing, and curves | Low, but results need heavy checking | A sentence: location, source, keep-list |
| Rerunning | Step back and redo the strokes | Regenerate and compare | Rerun with a sharper description; failed tasks refund credits |
The prompt is the whole control surface. These three rules cover most of what goes wrong.
Remove the [shadow source + where it falls]; keep [the face / the product / the surrounding texture] exactly unchanged.
Too vague
“Make her face look brighter and remove weird lighting.”
More useful prompt
“Remove the hard tree shadow across her left cheek and neck; rebuild the skin with even light and keep her features, hair, and the background exactly unchanged.”
Too vague
“Get rid of the shadow near the shoe.”
More useful prompt
“Remove the sneaker's cast shadow on the deck boards to its right; keep the sneaker, its thin contact shadow under the sole, and the wood grain exactly unchanged.”
Too vague
“Fix the stripes all over my living room photo.”
More useful prompt
“Remove the parallel blind shadows striping the wall and sofa back; keep the sofa shape, the plant, and the window light coming from the left exactly unchanged.”
Midday portraits come home with a blade of light across one cheek. Portrait shooters use the tool to remove the shadow from a photo's face and keep the person, not just brighten the frame.
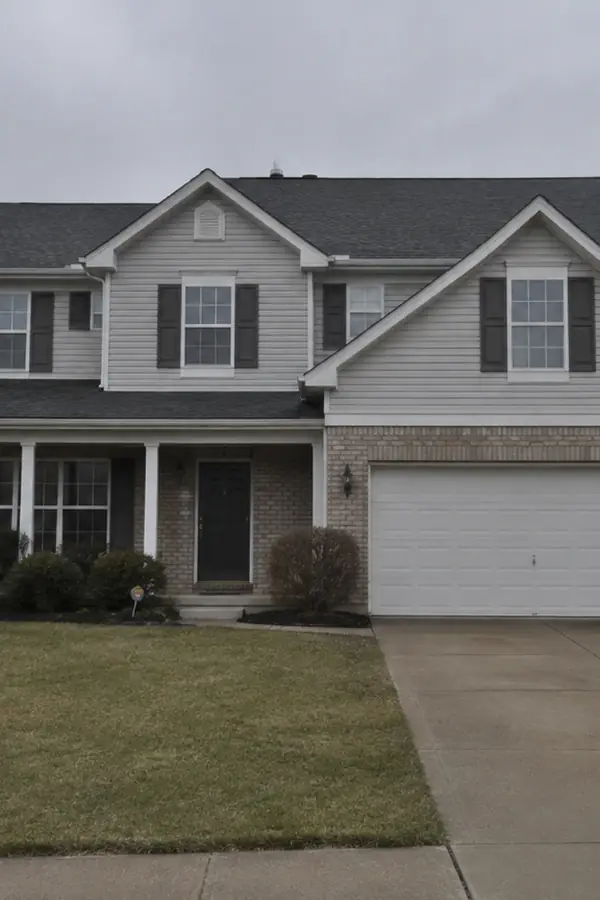
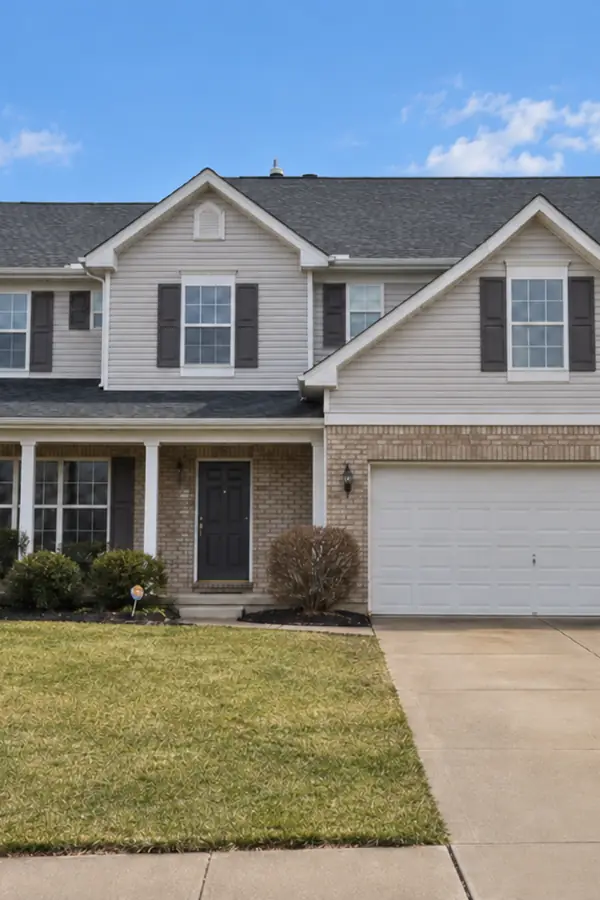
Listing photos live and die by the light. Sellers clear a box's or bottle's cast shadow so the shot reads clean against the surface, with the product itself untouched.
Rental listings and room photos pick up window-blind stripes and lamp falloff. Interior shooters clear the striped shadows so walls and fabrics read under one even light.
How the photo shadow remover works, which shadows it handles, and what to expect in the rebuilt area.
Upload one photo, name the shadow, and check the rebuilt area up close before you download.