



1
Upload the photo
Drag in a JPG, PNG, or WebP up to 20 MB, or pick one from My Creations. Portraits, products, food, and texture shots all work.

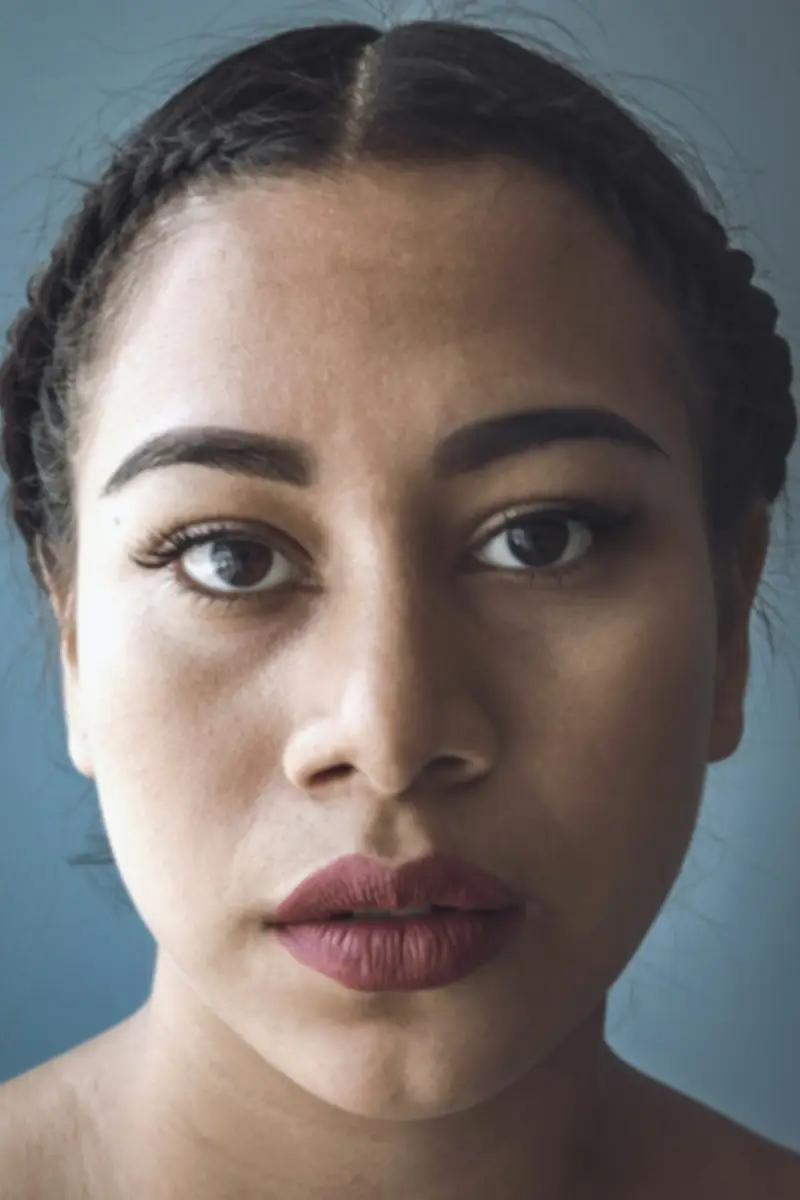
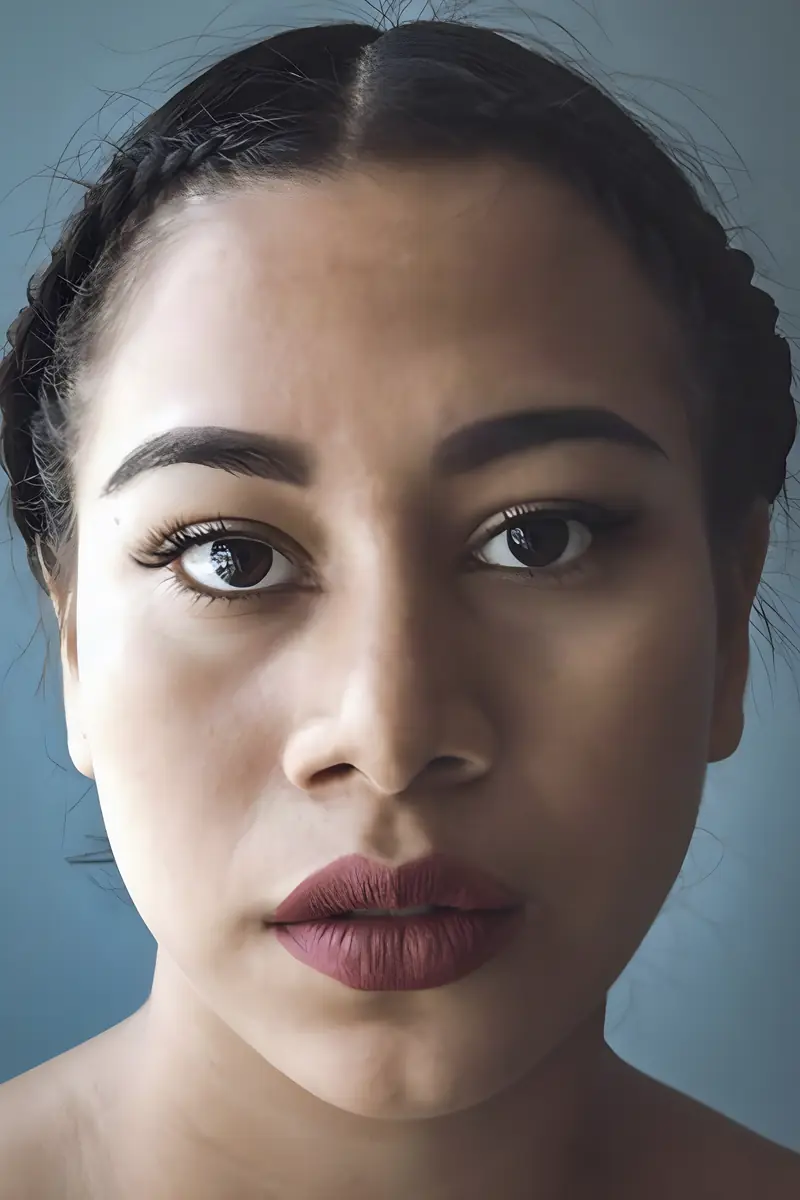
Upload a photo that looks soft and press one button. The pass rebuilds edge definition and fine texture, then you compare the result against the original before downloading.
0 / 5 reference images
Example 1 of 3
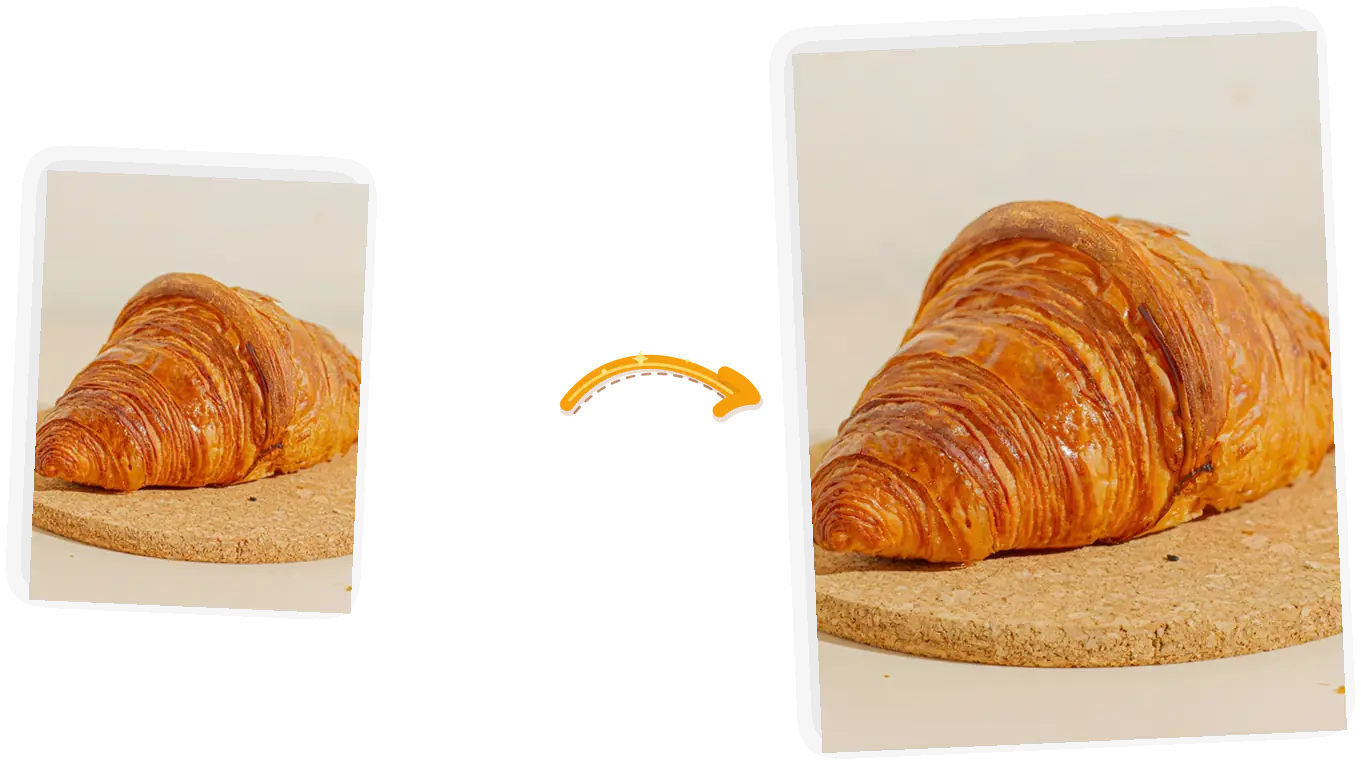
Sharpen this soft photo and restore its edge definition. Keep the composition, the colors, and every subject exactly as they are.
The sharpen image tool raises the edge contrast a photo has already recorded, and that recorded contrast is what makes an image sharper to the eye. It runs Real-ESRGAN, a restoration network that rebuilds edge definition and fine texture while it enlarges, so a soft pastry shot or an enlarged crop comes back crisper. To make an image clearer this way, the detail has to exist in the file: the pass recovers what resampling and compression smoothed away, and it does not invent detail the camera never captured. Upload a JPG, PNG, or WebP up to 20 MB, press the button, and judge the result in a before and after slider. The output arrives at twice the input resolution; the image resizer can bring it back to exact dimensions. If a photo is so blurry that subjects are hard to make out, the unblur tool is the better starting point, and the AI image upscaler owns large enlargements with a scale picker.
Sharpen an image online freeFive steps from a soft file to a sharper copy you have checked yourself.
Drag in a JPG, PNG, or WebP up to 20 MB, or pick one from My Creations. Portraits, products, food, and texture shots all work.
Zoom to 100 percent on a subject edge: hair, stitching, or a leaf vein. If the shape is clear but the line looks smeared, the pass has detail to recover.
One button, no prompt to write. The pass rebuilds edge definition and texture while it doubles the resolution.
Drag the slider across edges and texture before committing. A result that looks off can be rerun in one click.
Save the 2x result with no watermark, or send it through the image resizer when you need the original pixel dimensions.
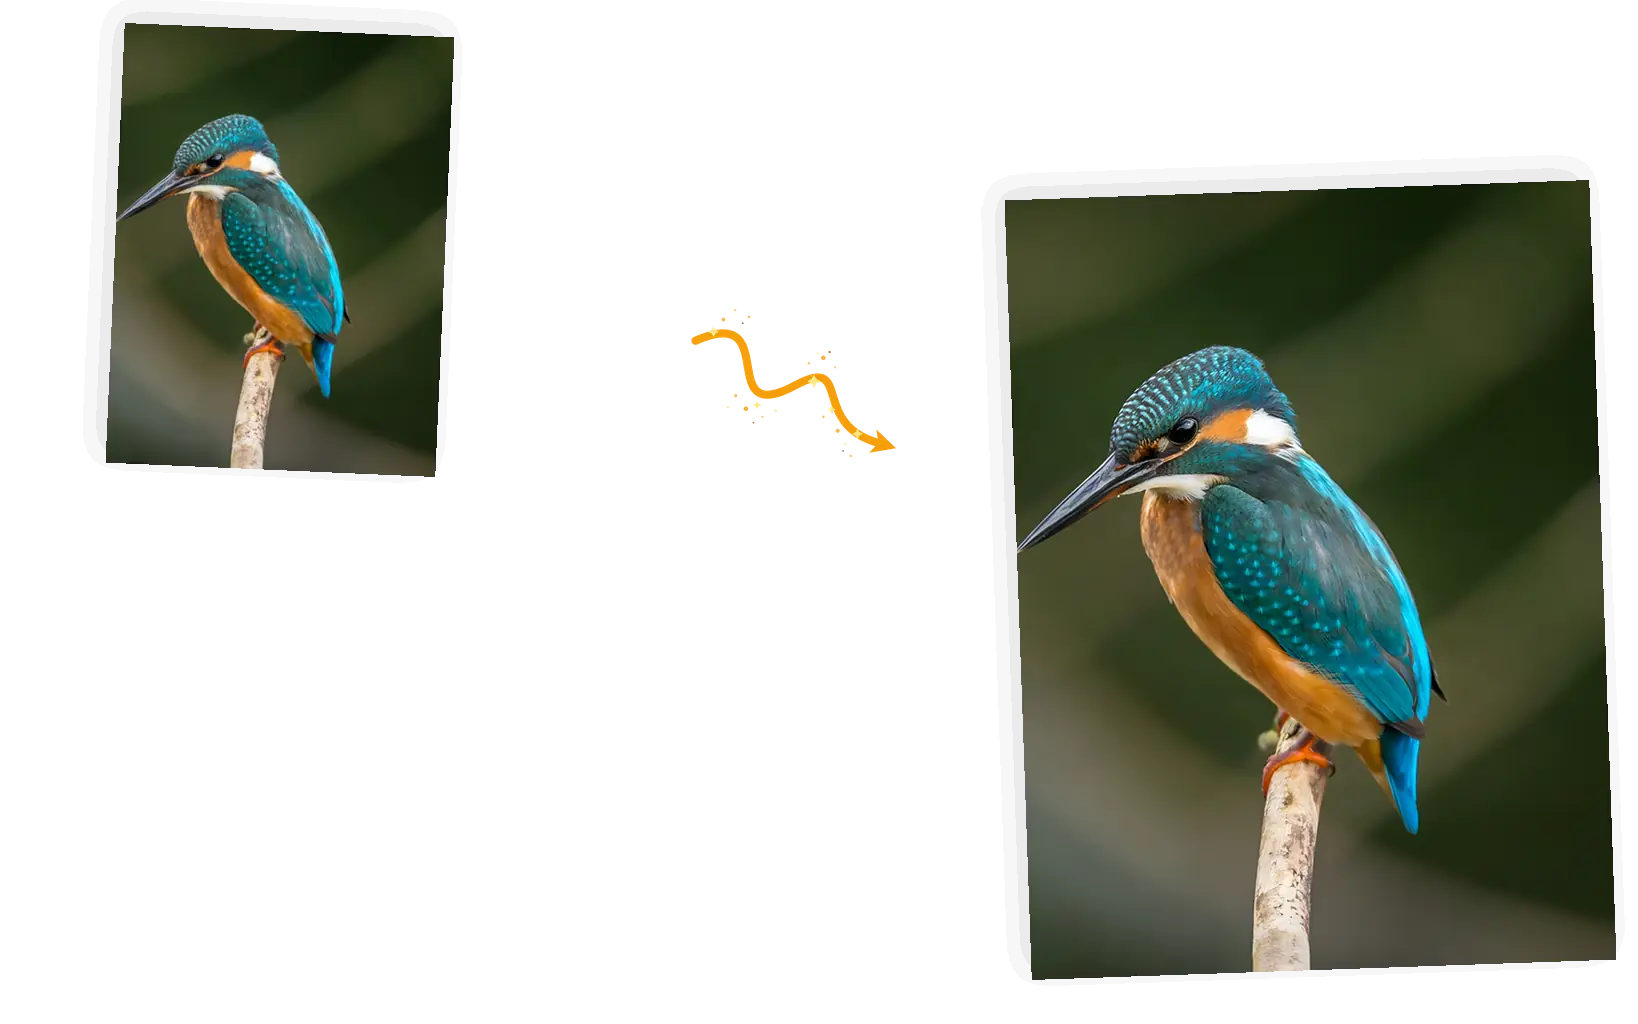
Crop in on a subject and the remaining pixels stretch across more screen. Edges go soft first. The pass restores their definition, so a recomposed shot reads as deliberate instead of blurry.
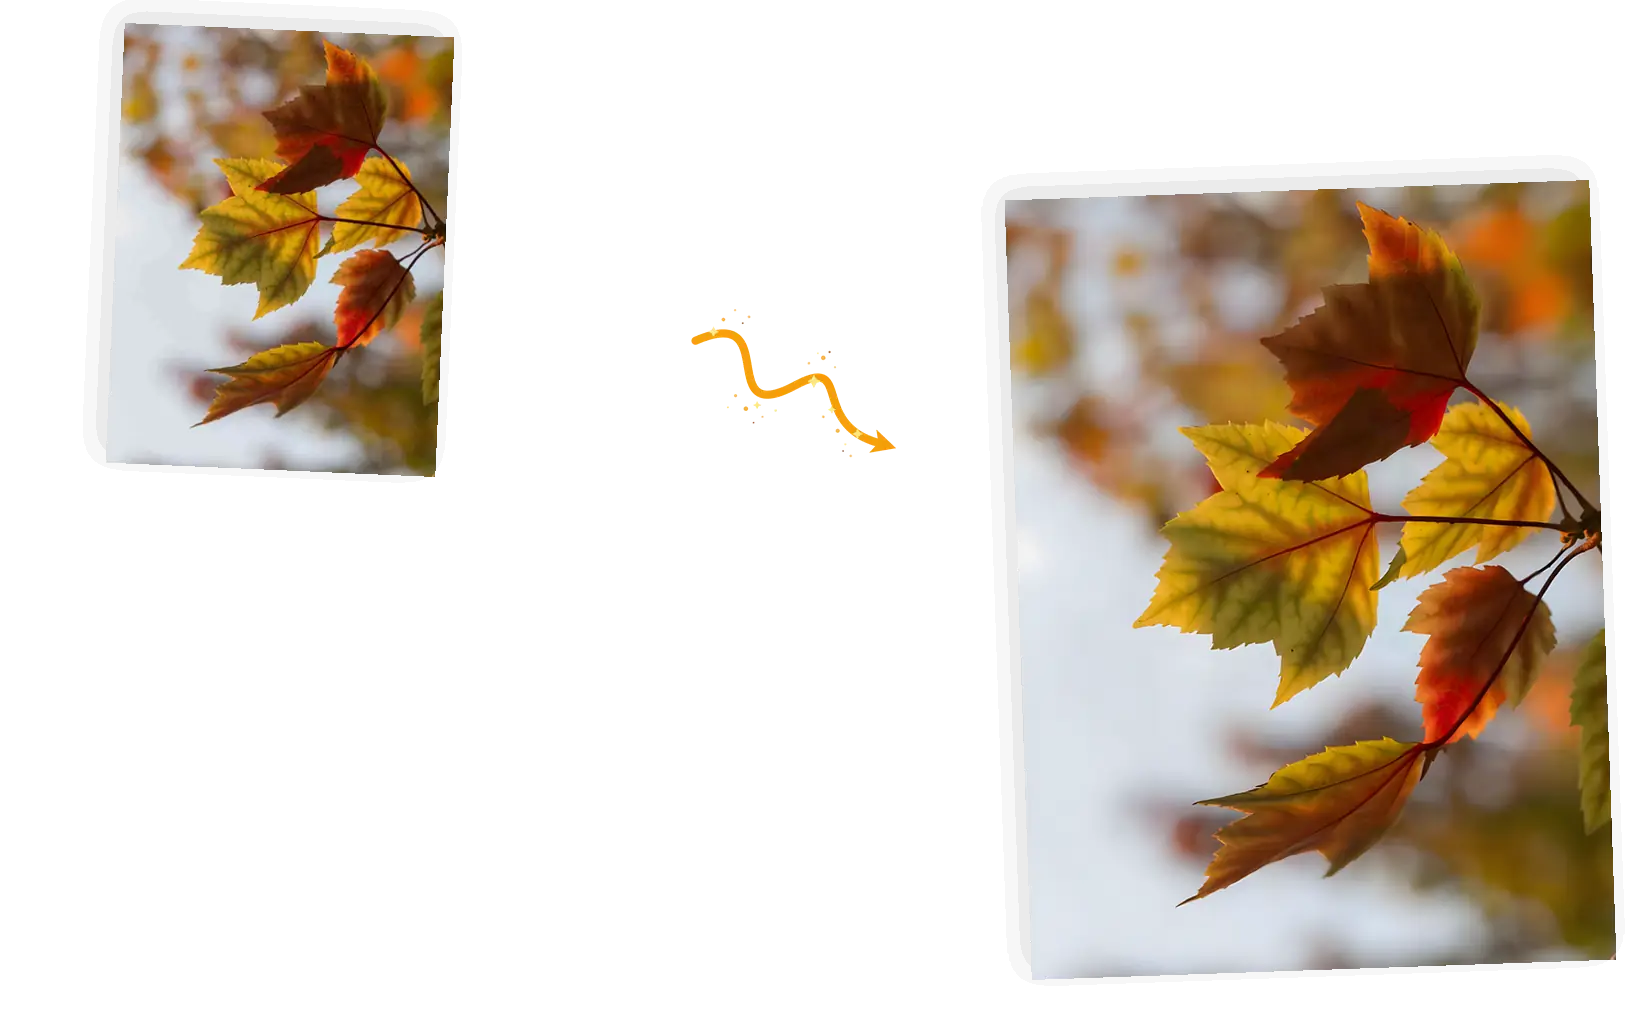
Messaging apps recompress every photo they send, and fine texture is the first thing to go. The pass rebuilds leaf veins, hair strands, and fabric weave from the pixels that survived.
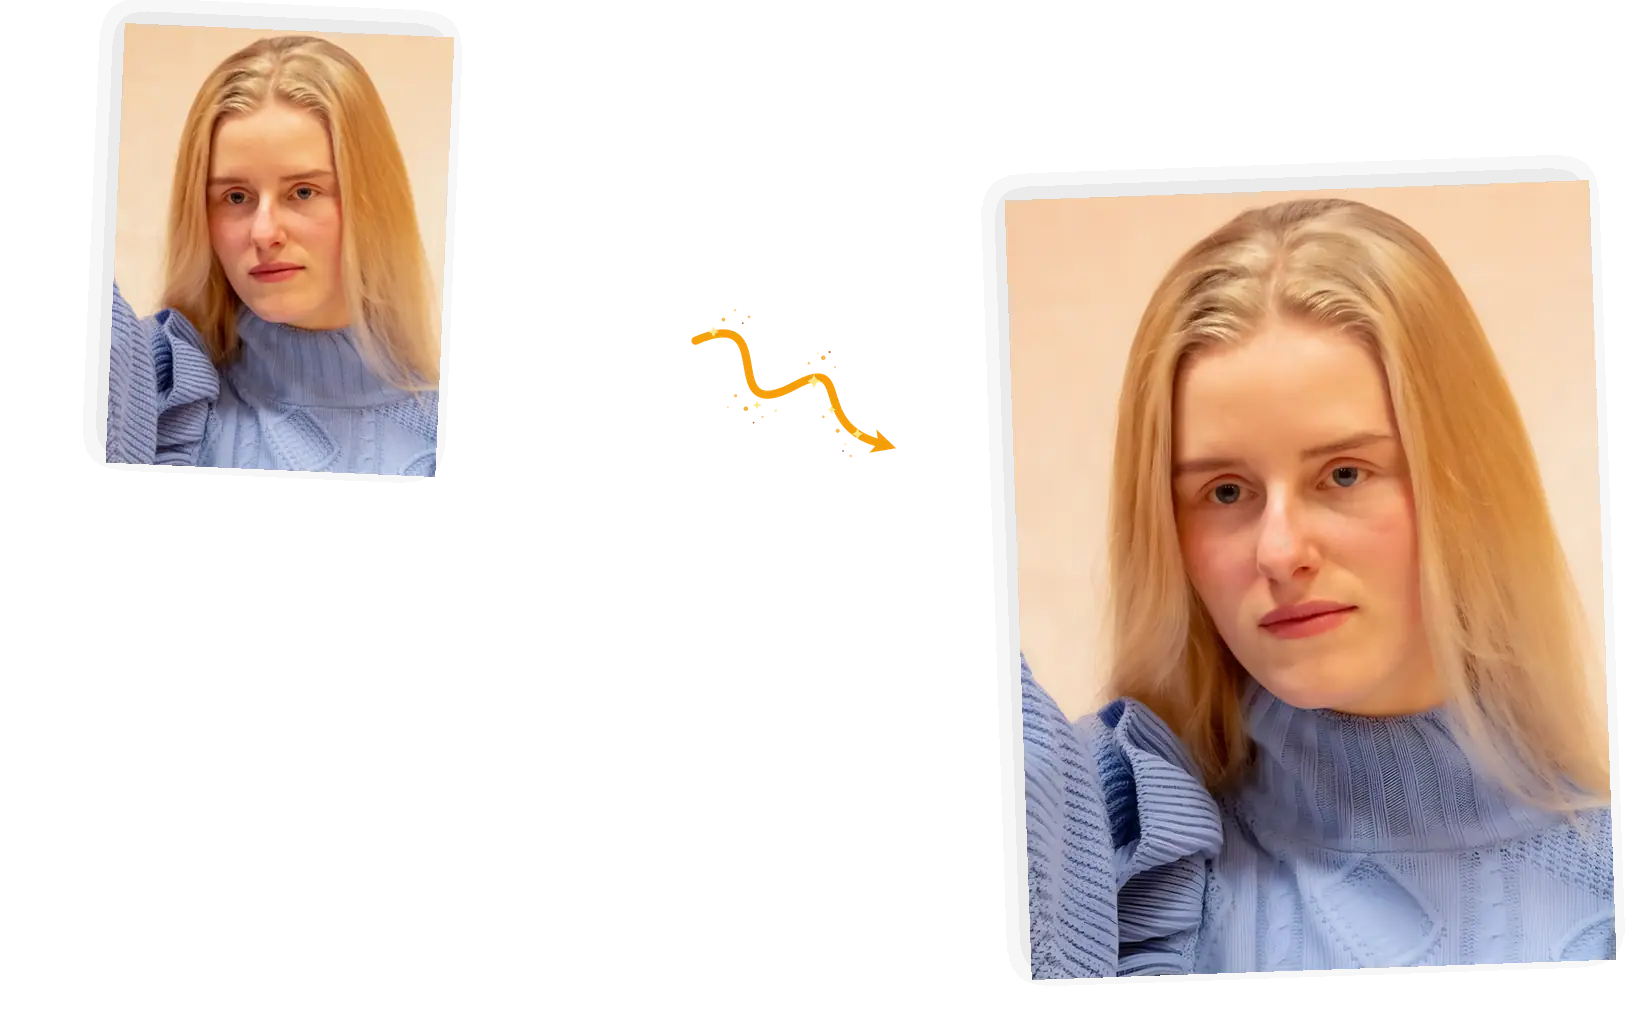
Default camera processing can smooth skin and knitwear into plastic. The pass restores micro contrast between surfaces, which is what makes skin look like skin and knit look like knit.
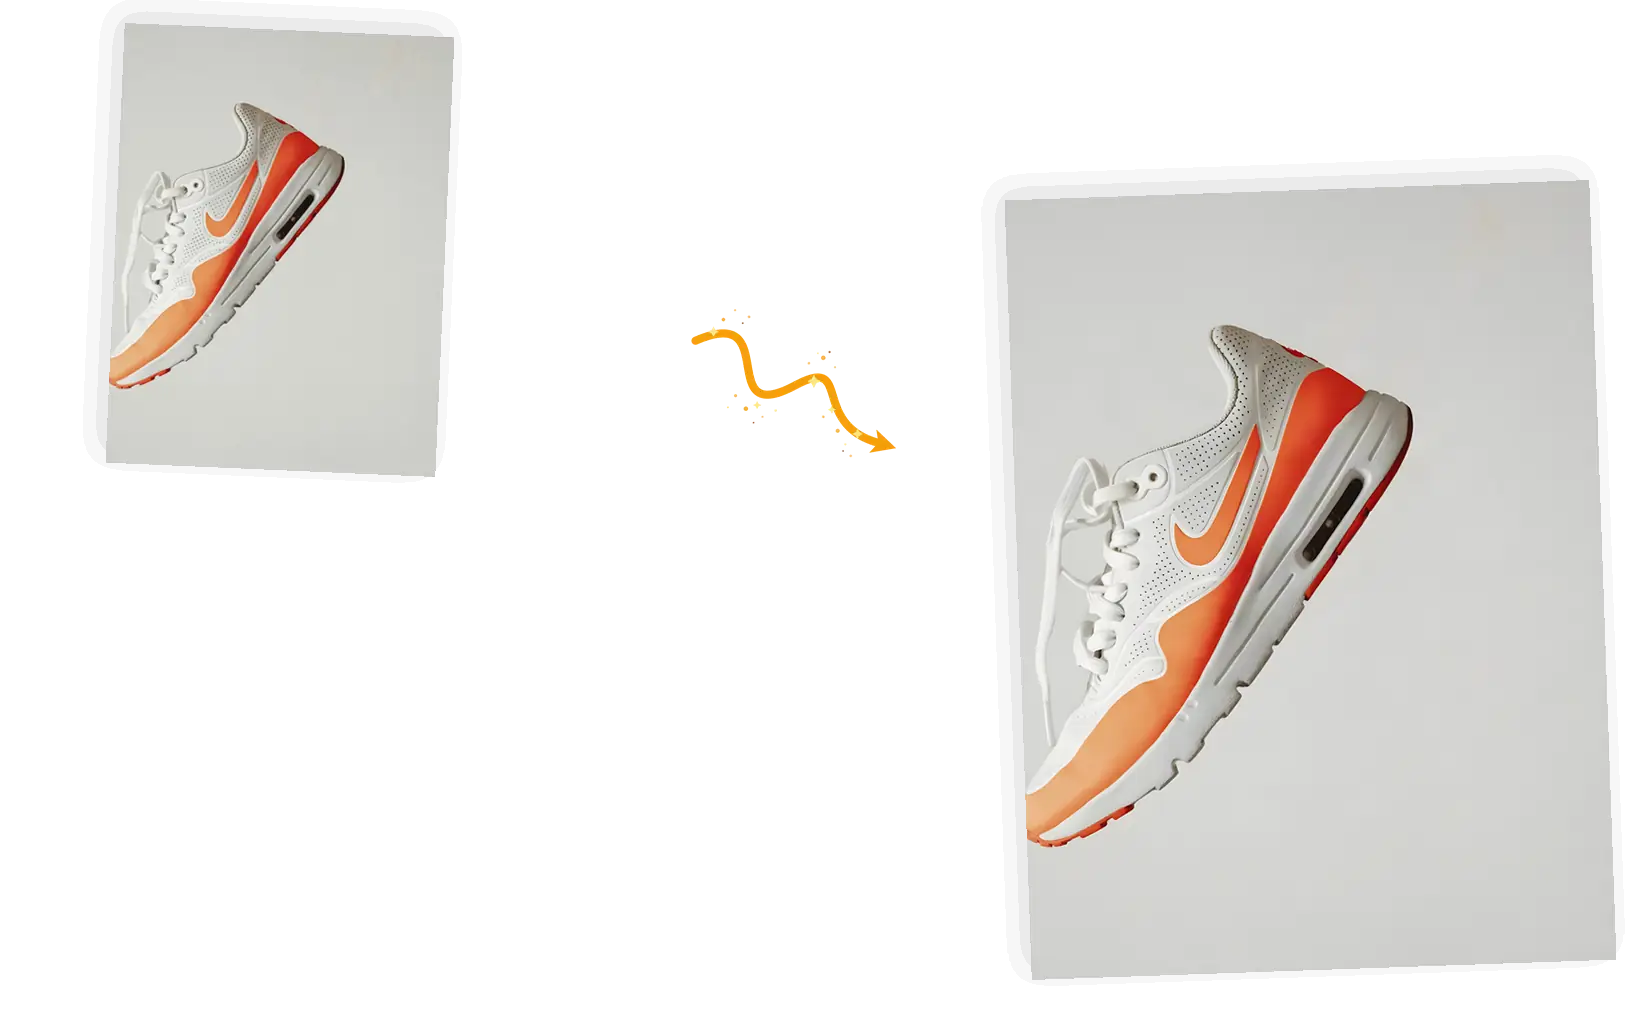
Marketplace photos get compressed again on upload, so a soft source only gets worse. Run one sharpening pass before you list, and stitching, logos, and surface detail stay legible through the platform's own re-encoding.
Supplier photos often arrive soft, and a soft product reads as cheap in a listing. One pass crisps up edges and stitching, and the image resizer fits the marketplace's exact pixel limits.
A finished selection can still leave the delivery folder feeling flat. Run the finishing pass on the keepers, check edge behavior in the slider, and deliver files that hold up at 100 percent.
Posts get recompressed by every platform they touch. Starting from a sharpened image keeps product detail readable after Instagram, Pinterest, and email do their own re-encoding.
The usual ways to sharpen a photo, compared by how they behave rather than by brand.
| What matters | Phone sharpening sliders | Photoshop Unsharp Mask | This page |
|---|---|---|---|
| Input they accept | Camera-roll photos on models that ship a sharpen control | Any file, once you have a subscription and a desktop | JPG, PNG, and WebP up to 20 MB, in any browser |
| Getting started | Buried in the edit menu, and every vendor moves it | A paid install and a learned workflow | Open the page and upload, no sign-up needed to start |
| Control | One strength slider, easy to overdo into halos | Amount, radius, and threshold, powerful with practice | Fixed restoration settings tuned to avoid halo artifacts |
| Output | Same size as the input, sharpening applied to everything | Same size as the input, per-layer if you build a mask | Same framing at 2x resolution, no watermark |
| Failure mode | Halos and crunchy edges once the slider passes mid-strength | Oversharpened skin until you learn mask work | Detail the file never recorded stays missing; nothing is invented |
| Cost | Free on most phones | Subscription | Free daily credits; subscribers run it free |
How the sharpen image pass works, what it costs, and where its limits are.
Upload a soft photo, press one button, and compare the crisper result against the original before you save it.