
Clothing Product Photography: A No-Studio Guide
Clothing product photography without a studio: the four shots every garment needs, a window-light phone setup, background calls, and fixes instead of reshoots.
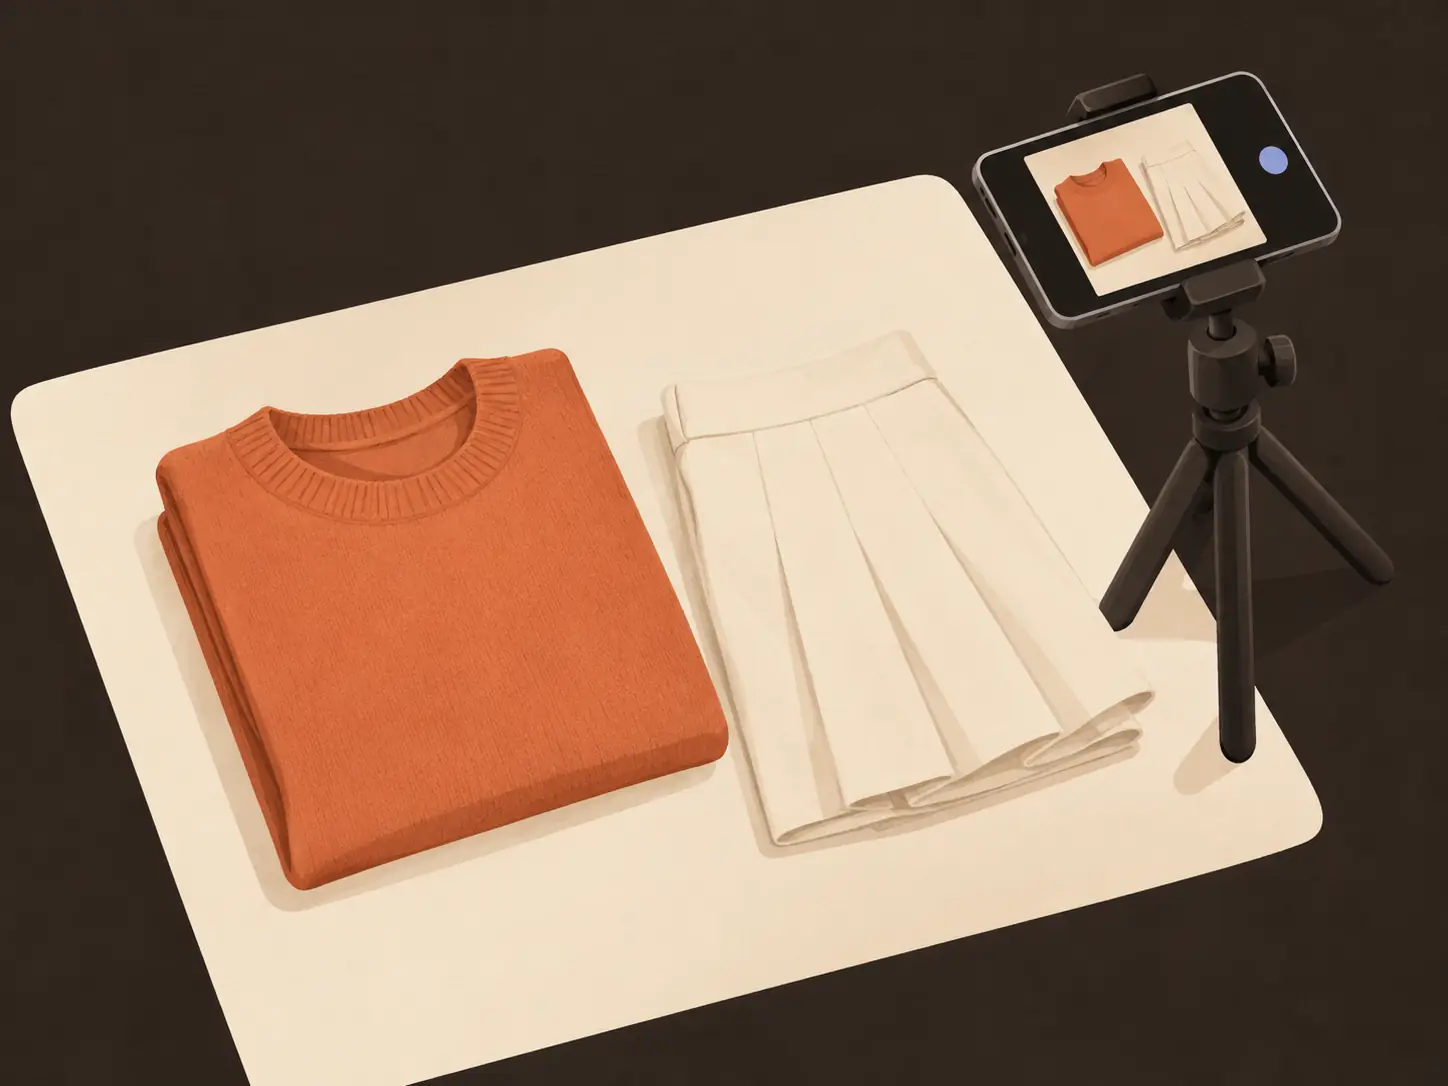
A new garment line arrives with a hard deadline and no budget for a studio. The clothing product photography has to happen this week, on a table, with a phone, or the listings launch with empty placeholders. That is the situation this guide is built for: what to shoot, how to set up a window and a sheet of foam board, where the white background is required and where life sells better, and what to fix in an editor afterward instead of paying for a reshoot.
The good news is that apparel forgives a modest camera and punishes sloppy light and lazy consistency. A phone in good daylight produces sellable files; no phone rescues a photo where the garment is wrinkled, the color drifts, and every product faces a different direction. Prep, light, and repeatability do most of the work.
What clothing product photography has to accomplish
A product photo answers three buyer questions in one glance: what is this garment really like, how does it wear, and can I trust the rest of this shop. Answering them means the photo must show construction honestly, hold color close to the fabric in the room, and match the style of every other shot in the catalog.
That trust job is why marketplaces are strict. A listing photo on a busy bedspread tells the buyer nothing about the stitching, and a photo where the red reads orange invites returns. Everything below serves the same goal: clean, consistent evidence of the garment.
The four shots every garment needs
Guides love to list seven or nine angles. On a deadline, four cover the selling job, and you can add more later for hero pieces:
- Front, filled with light. The garment flat or on a form, facing the camera straight on, occupying most of the frame. This is the listing's thumbnail and does most of the selling.
- Back. Buyers flip the product in their hands; they expect to flip it on the page. The back also shows construction the front hides.
- Fabric detail. A close-up of the weave, the stitching, a button, a seam. This is where texture sells quality that a full shot cannot.
- On a body. A person wearing it, or the closest you can manage. Scale and drape are invisible in a flat lay; a body gives both.
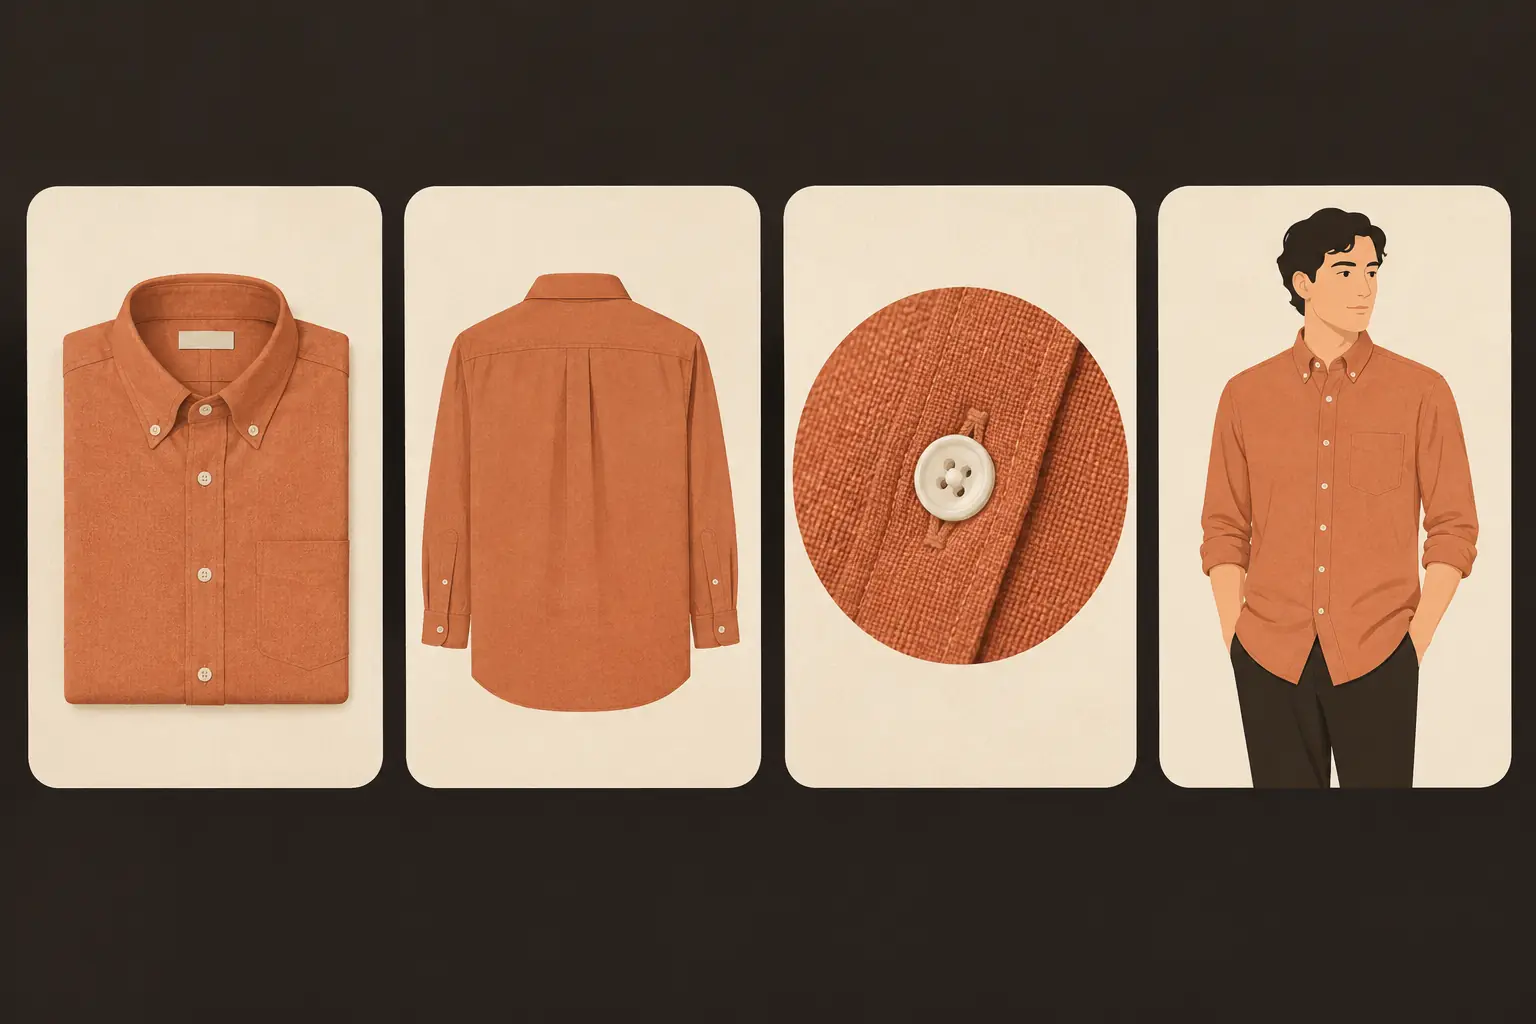
Shoot all four before moving to the next garment. Switching garments mid-set is how catalogs end up with three angles on one product and one angle on the next.
The on-body shot flexes with what you have. A friend wears it straight-on in the same window light. Alone, a dress form works, and a well-posed self-timer shot works harder than nothing: stand the phone against the tripod, frame from the chest down if faces feel awkward, and keep the same body for every garment in the line so proportions compare honestly.
How to photograph clothing with a table, a window, and a phone
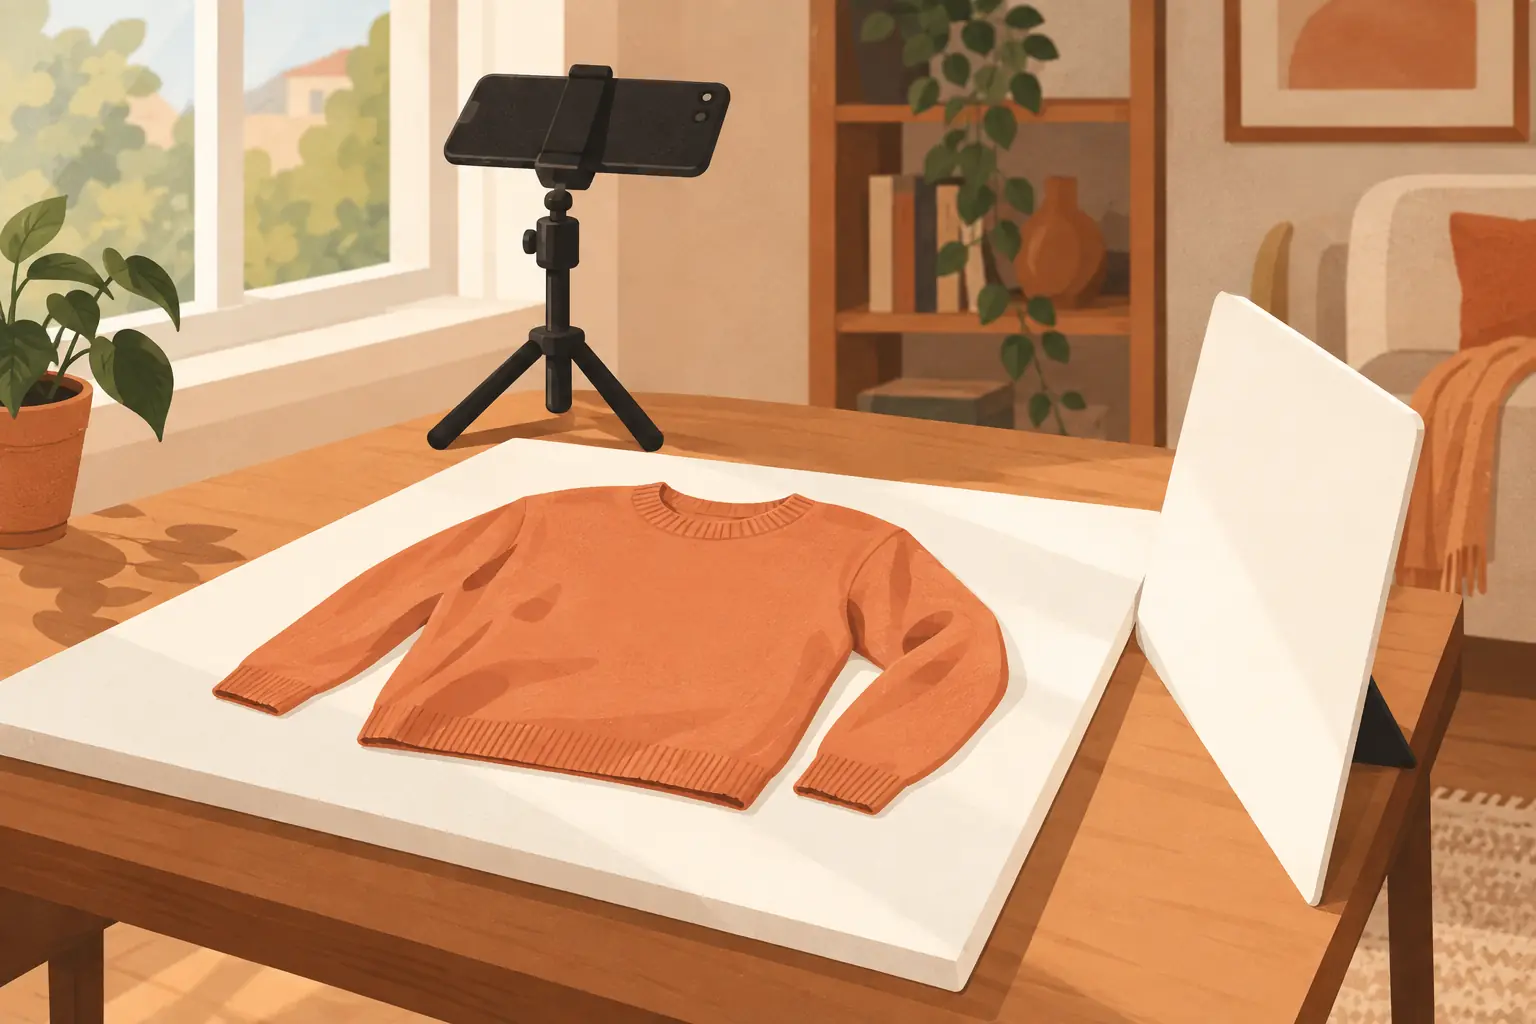
The no-studio setup costs almost nothing and produces clean files:
- A table beside a large window. Big windows give soft, wrapping light. Turn the table so the window lights the garment from the front or at a slight angle; side light exaggerates every wrinkle.
- White foam board as the stage. A sheet of foam board or a taped-down roll of white paper gives you the marketplace background and bounces light back into shadows.
- A second board as a reflector. Lean one opposite the window to lift the shadow side. This one trick does more than any filter.
- A phone on a tripod, shot from above. For flat lays, the camera sits parallel to the garment, directly over it. A tripod keeps every product shot from the same height and distance, which is half of consistency won.
- A steamer or an iron. Wrinkles read as wear. Ten minutes of steaming saves every photo you are about to take.
Set the exposure by tapping the brightest part of the garment and locking it, then keep the lock for the whole set so nothing shifts between products.
Keep the light soft, frontal, and consistent
Hard light (direct sun, a bare bulb) carves harsh shadows and turns seams into distractions. If sun is beating through the window, hang a thin white curtain or sheet to diffuse it. Shoot at the same hour for every session; afternoon light at 4 p.m. is a different color than noon light, and mixed color across a catalog reads as carelessness even when nobody can name why.
Color is the honesty test. Screens shift colors, and so does light: a warm bulb turns navy nearly black, and evening sun turns cream yellow. Photograph with the garment's true color in mind, keep white balance steady, and compare the result to the fabric in your hand before it goes live. If the render drifts, fix the light, not the buyer's expectations.
Two last habits while the phone is out: wipe the lens before every session, because a pocket smudge fogs an entire shoot, and skip portrait mode. Its background blur guesses at edges, and frayed-looking seams around a sleeve cost more trust than the blur adds.
Backgrounds: white for the platform, life for the brand
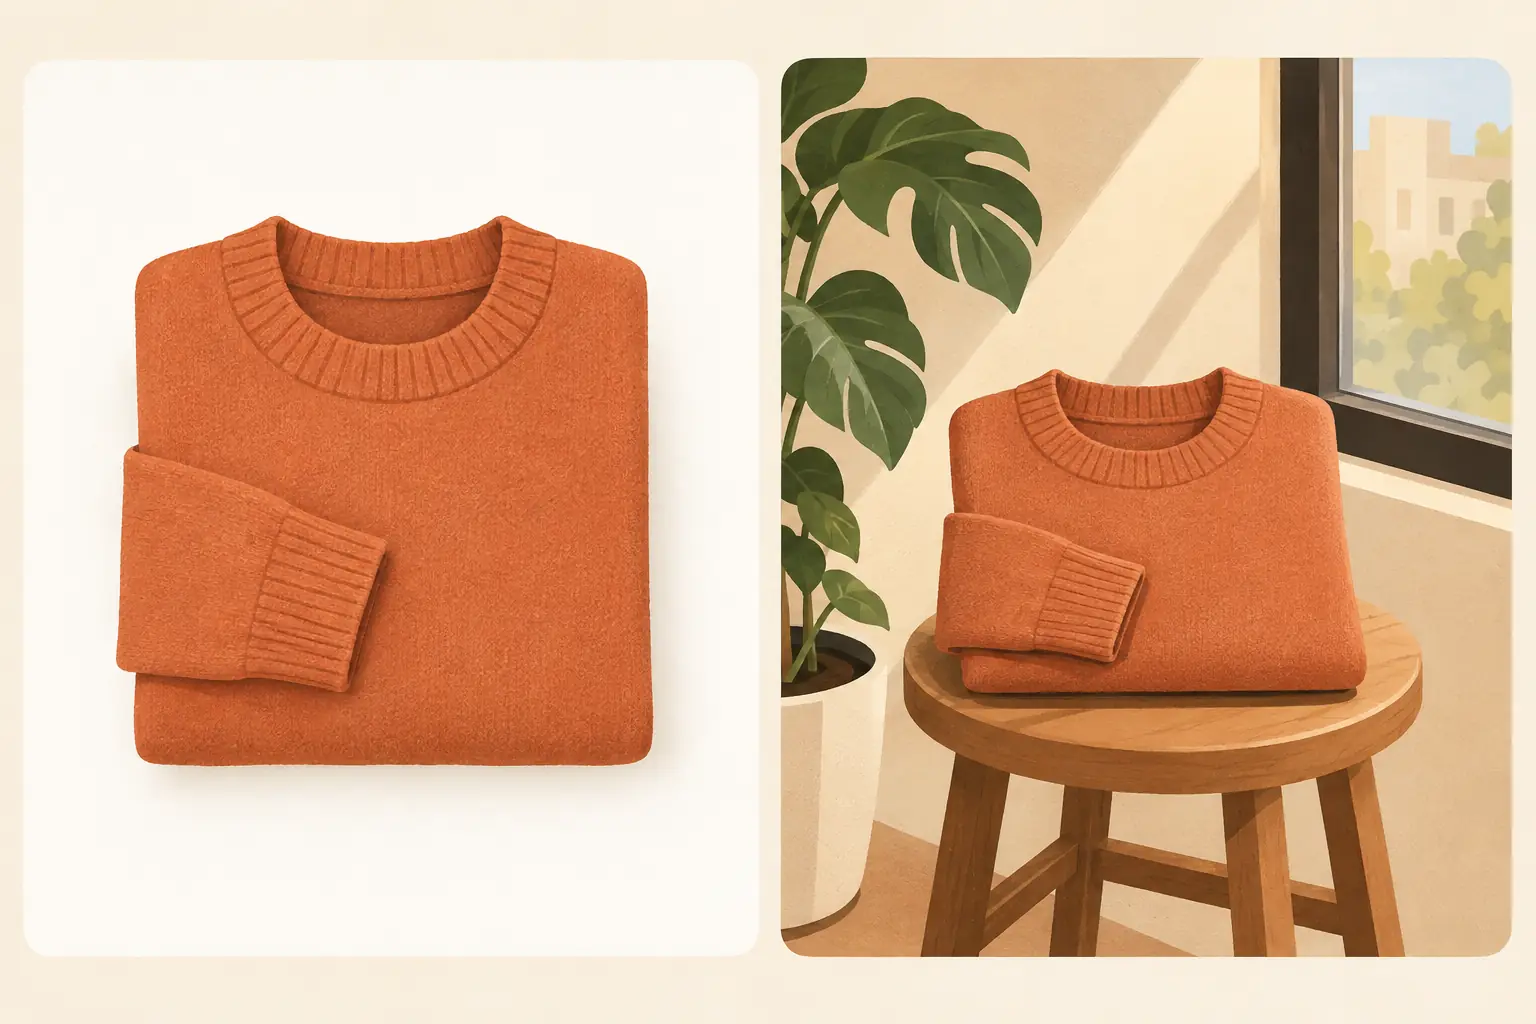
Marketplaces want the catalog look: a pure white background, garment centered, no props, no shadows beyond a soft contact shadow. For anything listing on those channels, shoot on the white board and let the background do nothing. This is the whole discipline of white background clothing photography, and it is dull on purpose.
Your own store and social channels are different. There, a garment on a wooden stool beside a plant tells a story a white void cannot, and lifestyle shots earn their place. The practical split most small brands land on: pure white for the marketplace feed, a few styled frames for the product page and social. Shoot both in the same session while the light is right, not as a reshoot later. When a styled frame wants a person instead of a stool, the AI product photography editor moves the garment onto one without booking anyone.
Consistency beats hero shots
One spectacular photo next to five mediocre ones looks like five mediocre photos. Catalogs sell on rhythm: same angle, same distance, same height, same light, garment oriented the same way, page after page.
Two checks keep the rhythm. First, the tripod does the measuring: same spot, same height, every product. Second, review the catalog as a grid before launch, not shot by shot. Fill the screen with thumbnails; any product that jumps out as darker, closer, or crooked gets reshot now, while the setup is still standing.
Name files so the grid check survives the week: one folder per product, files prefixed with the product code and the angle (front, back, detail, body). When photo forty-two looks off, you want to know which garment and which angle in five seconds, not by opening files one at a time.
Fixing shots after the shoot instead of reshooting
The setup survives the session, but not every frame survives review. Common rescues, none of which need a reshoot:
- The background is not white enough. Paper creases, boards yellow at the edges, shadows lean. Rather than reshoot, cut the garment out and rebuild the backdrop: the white background tool turns a product frame into a clean marketplace-ready file in one pass.
- You never got the mannequin look. The invisible-form presentation shops charge studio rates for is generative now. The ghost mannequin tool builds that hollow, three-dimensional look from flat shots of the same garment.
- You need on-body shots and no one is available to model. The AI product photography editor puts garments on generated model shots with a keep-list that holds the garment's cut and color, which is also the fastest way to produce a second styled frame for the product page.
That last workflow deserves one honesty note: the garment in a generated scene is a rendering, so judge its color against the real fabric and keep listing photos that show the actual product. Use the same tool for volume work like a whole season's line: upload the flat shot, describe the model and setting, keep what must not change, and generate. The fashion model workflow covers the steps in detail, and both fit inside the same editor this site runs on: JPEG, PNG, or WebP up to 20MB, one photo per edit with up to five reference images, 9 free credits a day for guests and 15 for accounts, 3 credits for a standard 1K generation, refunds on failed tasks, and watermark-free downloads.
Reshoot when the garment itself was photographed wrong: wrinkled, stained, misbuttoned, or cropped badly. Generative tools fix surroundings and presentation; they do not resell a bad original.
FAQ
Do I need an expensive camera for clothing product photography?
No. A current phone shoots files big enough for every marketplace, and a tripod plus window light matter more than the sensor. Clothing product photography fails on wrinkles, mixed light, and inconsistent angles, none of which a better camera fixes. Spend the budget on a steamer, two foam boards, and an afternoon.
What background should I use for clothing listings?
Pure white for marketplaces that require it: garment centered, even light, no props. White hides nothing, which is exactly why buyers and platforms trust it. On your own product page and social channels, styled frames with a stool, a plant, or a window earn attention, and shooting both versions in one session costs minutes.
How many shots does one garment need?
Four as the working minimum: front, back, a fabric-and-stitching detail, and the garment on a body. Add side and tag shots for premium pieces. Under four, buyers start asking questions the listing should have answered, and questions turn into returns.
How do I keep a whole catalog looking consistent?
Same tripod position, same height, same hour of daylight, same exposure lock, and the same distance from lens to garment, every product. Then review the entire catalog as a thumbnail grid before launch: any card that jumps out as darker, closer, or crooked gets reshot while the setup is still up.
What are some clothing product photography ideas beyond the basic shots?
Once the four required shots are in, small scenes earn their keep: the garment styled with a shoe and a bag it pairs with, a detail shot of the fabric moving in a fan's breeze, a flat lay of a full outfit, or a hanging shot against a textured wall. Keep these for your own channels, and keep one style per season so the set reads as one brand.
Can I fix a bad background without reshooting the garment?
Yes. Upload the frame to a background tool, cut the garment out, and rebuild the backdrop to a clean white or a styled scene; one pass replaces the reshoot as long as the garment itself was shot cleanly. The edit changes the surroundings, not the garment, so check the cutout edges and the garment's color against the real fabric before the photo goes live.
ImagEditorAI Team
Written by the ImagEditorAI Editorial Team. We research and test image editing workflows, outfit coordination, and generative AI models.
Test your outfit combination on yourself
Generate coordinated outfits or swap clothing pieces on your own photo with AI before wearing or buying.
Related Guides & Articles
Virtual Try On Apps: What They Do and When to Skip Them
Virtual try on apps come in three kinds: retailer AR, closet planners, and photo-based AI. Here is what each does, and when a browser tab does the job.
Does This Outfit Match? How to Tell Before You Leave
Asking does this outfit match is a judgment you can run in a minute: the 60-30-10 color split, neutrals as glue, formality first, and a photo check.

How to Remove Text from a Picture: An Honest Guide
How to remove text from a picture without wrecking the background: when to delete, when to retype, how the fill works, and the rules around watermarks.